How to Connect PS4 to Projector
By XGIMI Tech - 2023-08
Introduction
Are you wondering how to connect PS4 to a projector and elevate your gaming sessions to a grander scale? Connecting your PS4 to a projector can transform your gaming experience, offering larger-than-life visuals and an immersive atmosphere. In this detailed guide, we'll walk you through the process of connecting your PS4 to a projector using different methods, ensuring that your gaming adventures are nothing short of extraordinary. Whether you have an HDMI, VGA, or DVI port on your projector, we've got you covered!
Part 1. How to Connect PS4 to the Projector with HDMI
Connecting your PS4 to a projector using an HDMI cable is a straightforward and popular method that offers high-quality video and audio transmission. Follow these step-by-step instructions to establish a seamless connection:
1. Prepare the Devices:
Before you start, ensure that your PS4 gaming console and the projector are powered off. This precaution will prevent any potential damage during the setup process.

2. Locate the HDMI Ports:
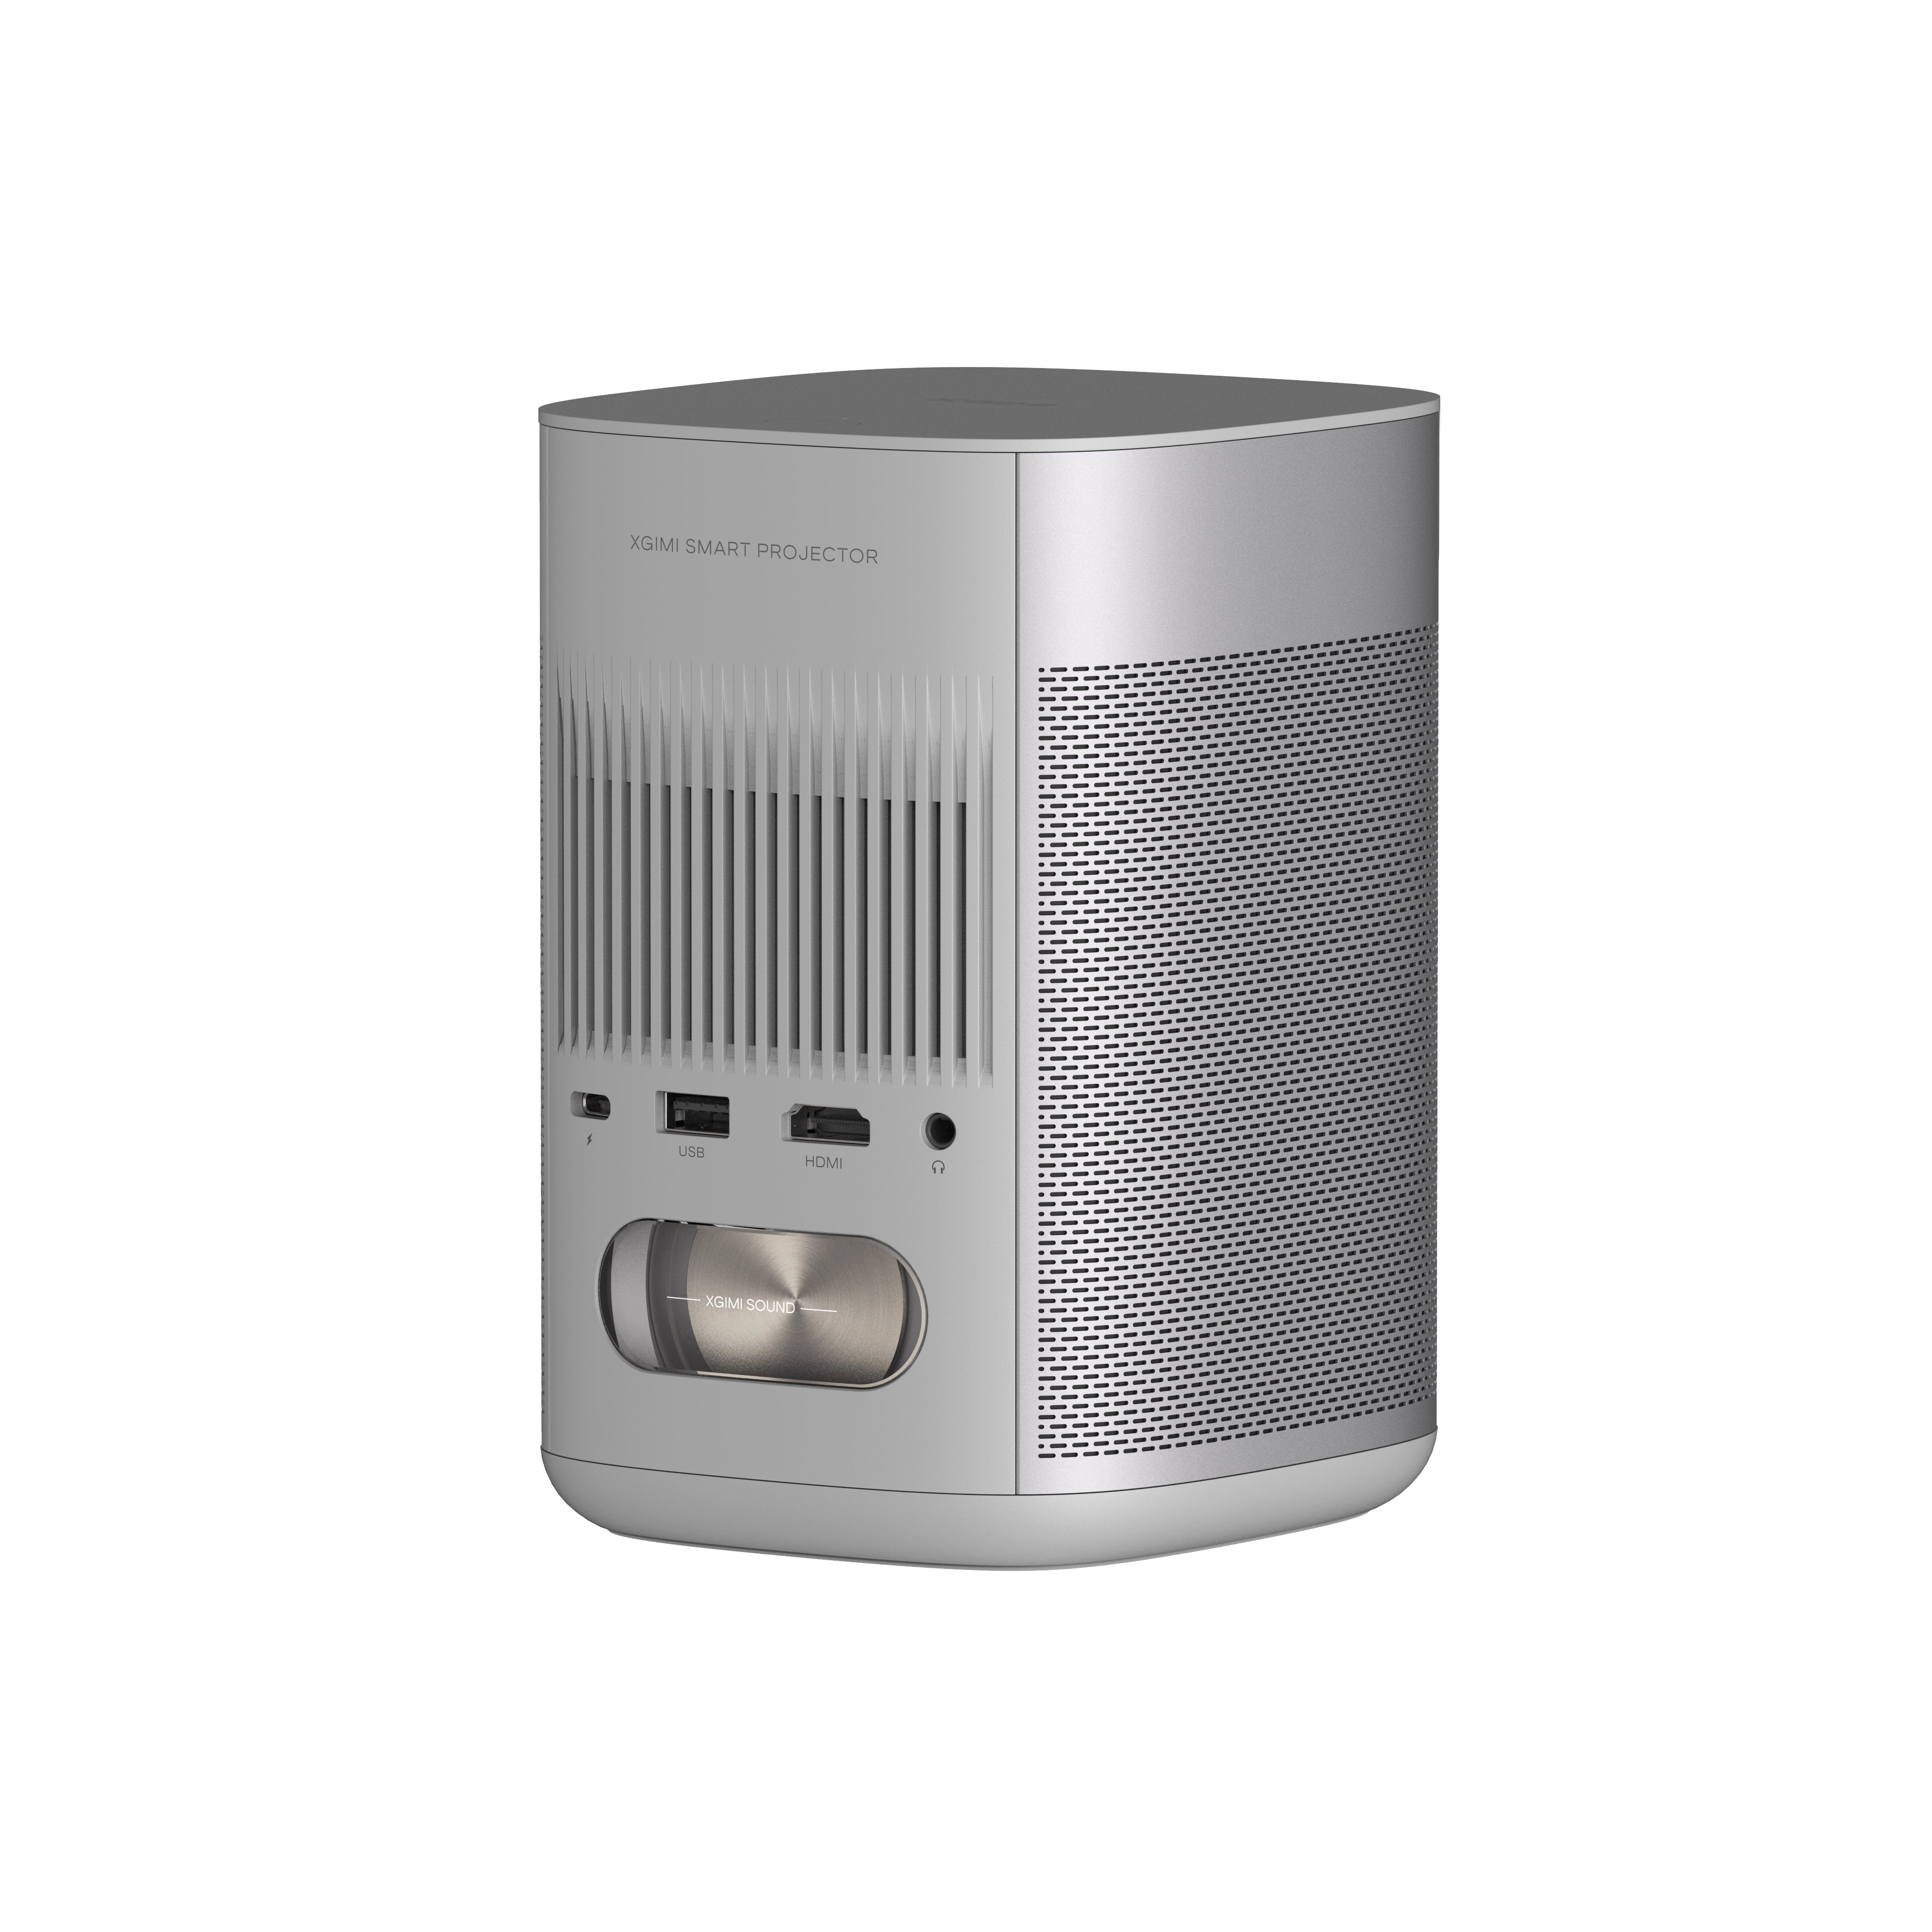
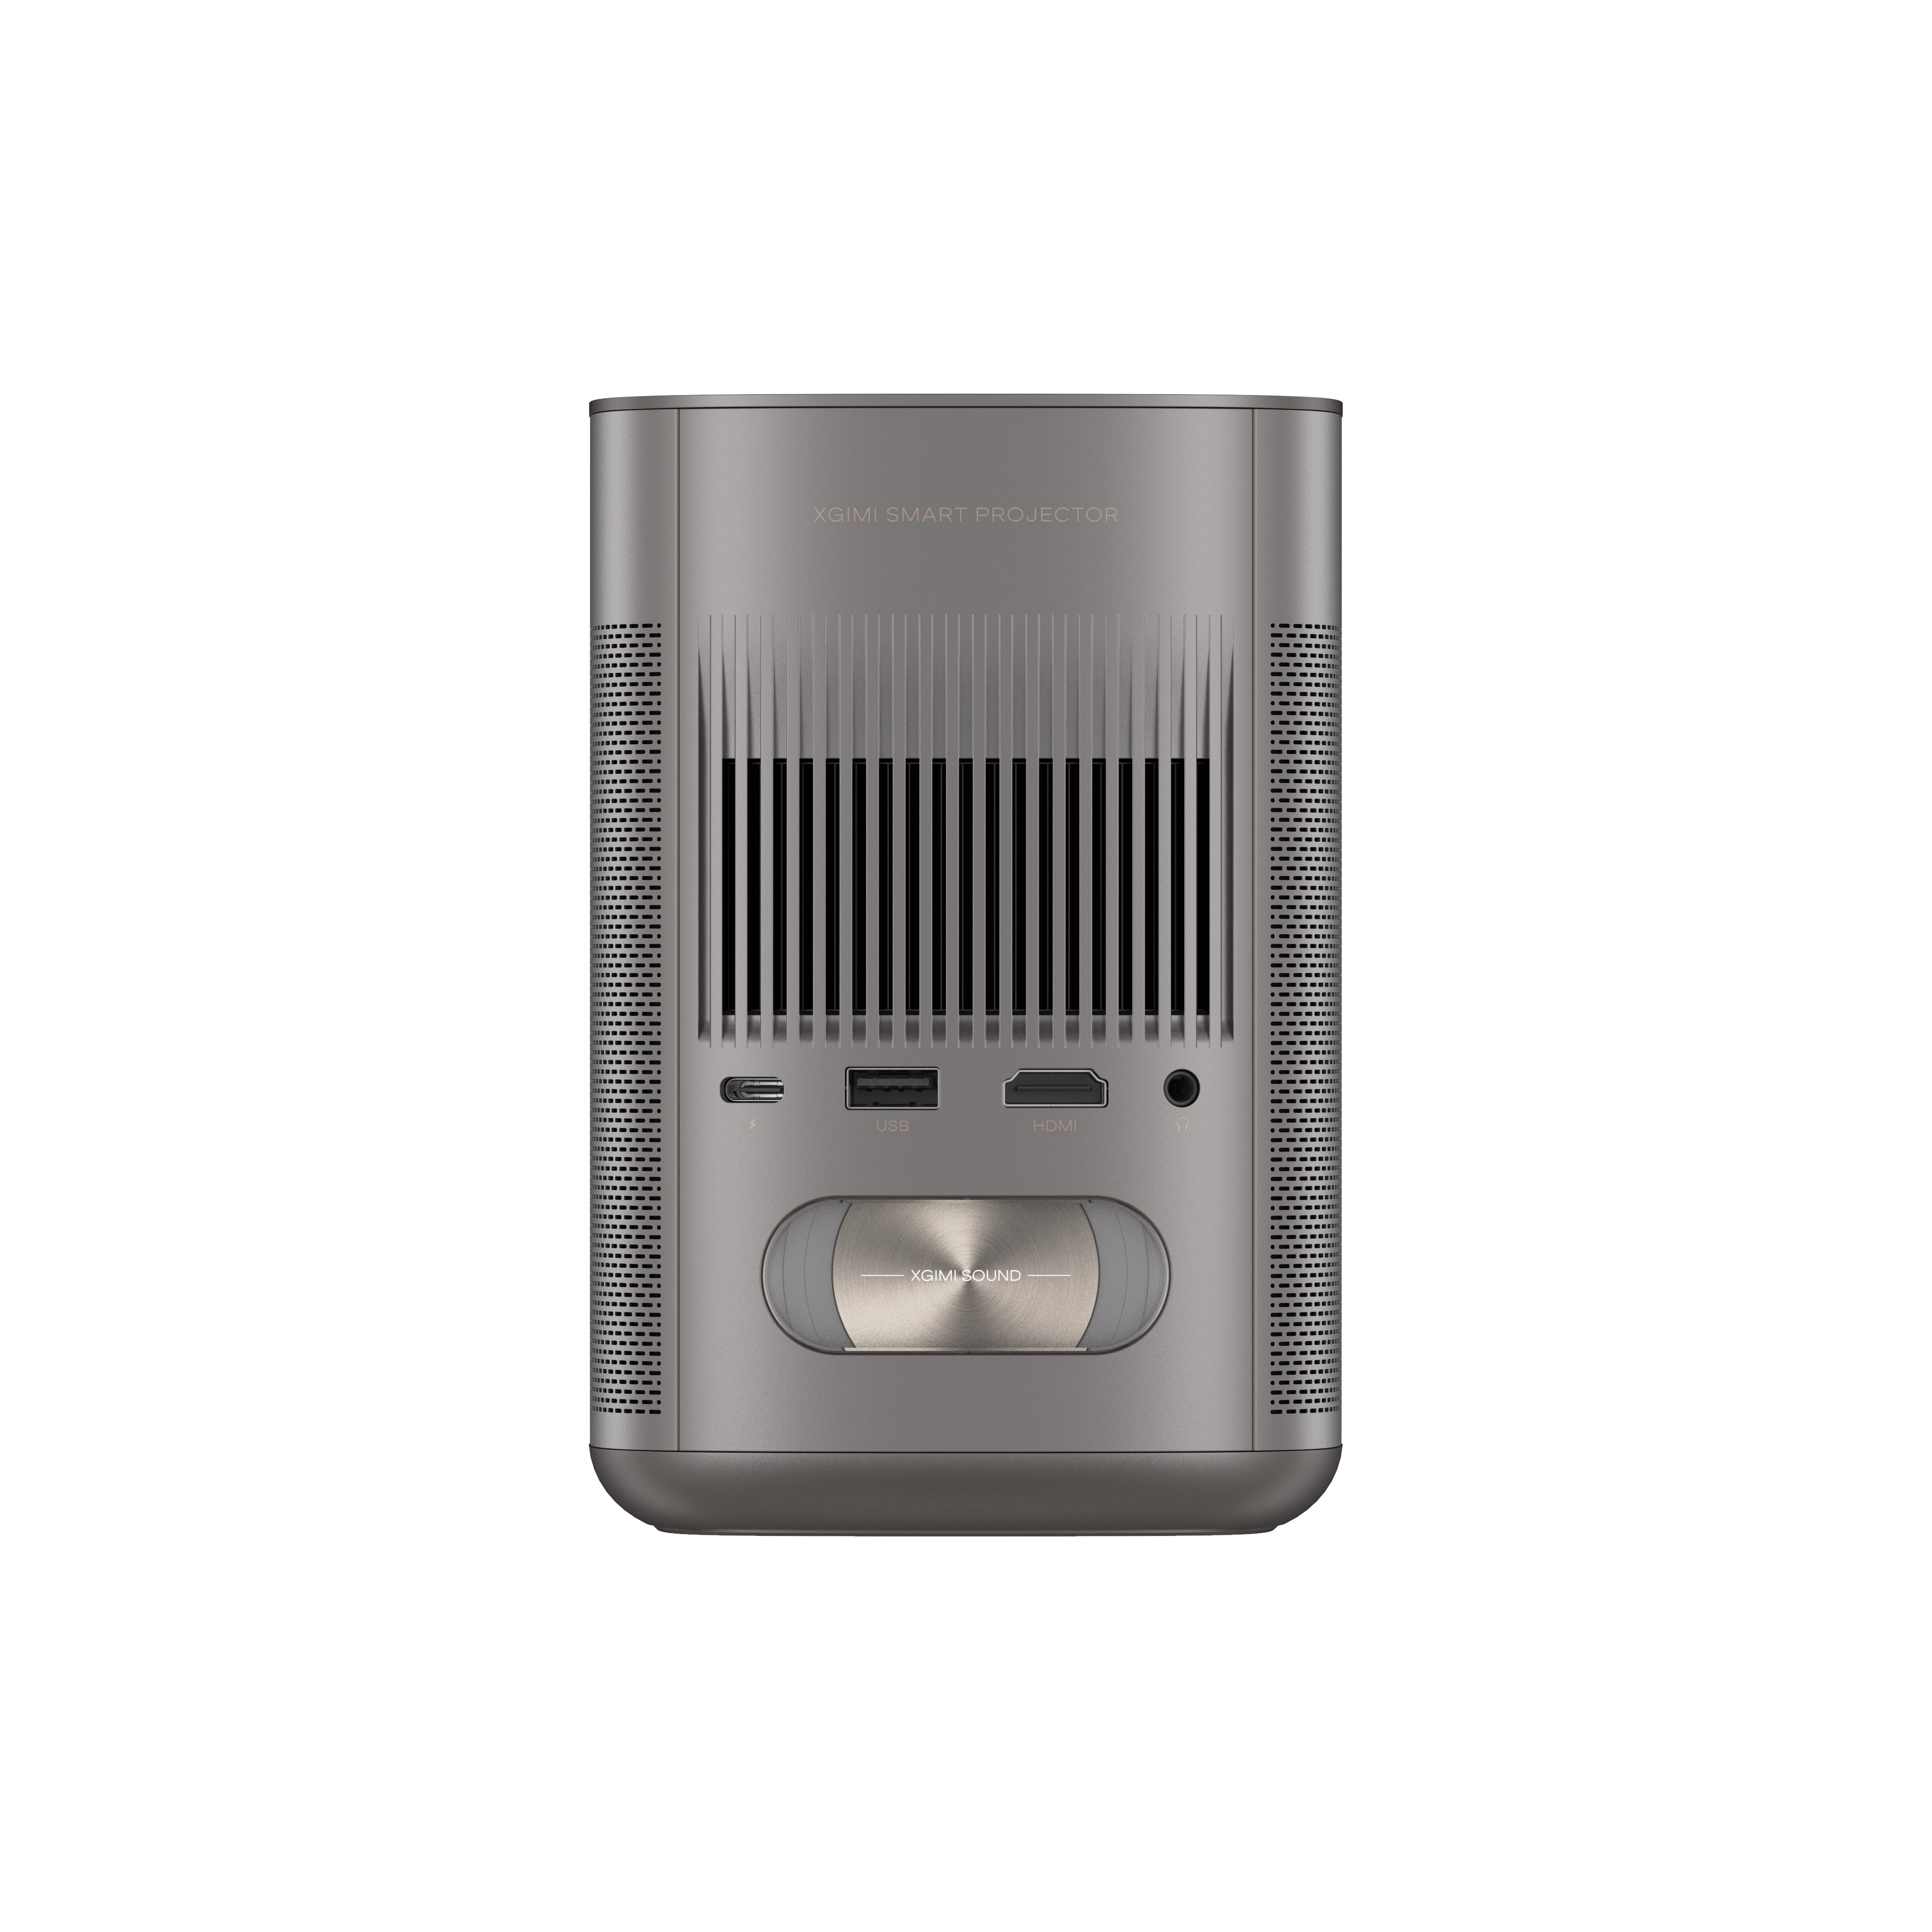
Identify the HDMI port on your PS4. It is typically located at the back of the console near the power cable and other ports. Additionally, discover the HDMI input on your projector. Most projectors have multiple HDMI ports, often labeled for easy identification.
3. Connect the HDMI Cable:
Take one end of the HDMI cable and firmly insert it into the HDMI port on your PS4. Ensure that the connection is secure to prevent any interruptions during your gameplay.
4. Connect to the Projector:
Connect the other end of the HDMI cable to the HDMI input on the projector. Again, make sure the connection is snug to maintain optimal signal transmission.
5. Power On the Devices:
Now, power on both your PS4 and the projector. The projector might automatically detect the HDMI input source as they boot up. If not, proceed to the next step.
6. Select the Input Source:
Find the option to select the input source on your projector's remote control or control panel. Choose the one corresponding to the HDMI port you connected to in the previous step. This input may be labeled "HDMI 1" or "HDMI 2," depending on your projector model.
7. Display Your PS4 on the Projector:
Once you've selected the correct input source, your PS4's display should appear on the projector screen. You can now grab your controller and dive into an immersive gaming experience on the larger screen.
Following these steps, you can connect your PS4 to the projector using an HDMI cable. Enjoy your gaming sessions with stunning visuals and enhanced audio, elevating your gaming adventures to a new level.
Part 2. How to Connect PS4 to the Projector with VGA Cable
Connecting your PS4 to a projector using a VGA cable is a viable option if your projector lacks HDMI support. While VGA may not offer the same level of visual quality as HDMI, it can still provide a decent gaming experience. Follow these step-by-step instructions to connect your PS4 to the projector using a VGA cable:
Power Off Both Devices:
Ensure that your PS4 and projector are powered off before connecting. This precautionary step helps avoid any potential issues during setup.
Locate the VGA Port:
Find the VGA port on your projector. It is typically colored blue and may be labeled "VGA" or "Computer" for easy identification. Additionally, locate the VGA output on your PS4. It is often found on the rear panel of the console.
Connect the VGA Cable:
Take one end of the VGA cable and insert it into the VGA output on your PS4. Ensure that the connection is secure to prevent any loose connections during gameplay.
Connect to the Projector:
Attach the other end of the VGA cable to the VGA port on the projector. Make sure the connection is snug to maintain a stable signal transmission.
Select the Input Source:
Access the input source menu on your projector. Look for the option that corresponds to the VGA connection. This input might be labeled "VGA" or "Computer."
Display Your PS4 on the Projector:
After selecting the correct input source, your PS4's display should now be projected on the screen. You are ready to immerse yourself in your gaming adventure on the expanded visual canvas.
Remember that VGA connections do not transmit audio, so you may need to use alternative audio connections, such as the PS4's headphone jack or separate speakers, for audio output. While VGA may not offer the same level of visual fidelity as HDMI, it can still be a viable option if your projector does not have HDMI capabilities. Enjoy gaming on a larger screen with your PS4 and maximize your gaming experience with the projector.
Part 3. How to Connect PS4 to the Projector with the DVI Port
Connecting your PS4 to a projector with a DVI port requires an HDMI-to-DVI adapter since the PS4 does not have a DVI output. Follow these step-by-step instructions to successfully establish the connection:
● Power Off Both Devices:
Before you begin the connection process, ensure that your PS4 and the projector are powered off to prevent any potential issues during setup.
● Acquire an HDMI-to-DVI Adapter:
Purchase an HDMI-to-DVI adapter if you don't already have one. This adapter allows you to convert the HDMI output of your PS4 to the DVI input on the projector.
● Connect the Adapter to PS4:
Plug one end of the HDMI-to-DVI adapter into the HDMI port on your PS4 gaming console.
● Connect the Adapter to the Projector:
Attach the other end of the HDMI-to-DVI adapter to the DVI port on your projector. Make sure the connection is secure for optimal signal transmission.
● Select the Input Source:
Access the input source menu on your projector and select the option that corresponds to the DVI connection. This input may be labeled as "DVI" on the input menu.
● Display Your PS4 on the Projector:
After selecting the correct input source, your PS4's display should now be projected on the screen. You can now enjoy gaming on a larger display.
With the HDMI-to-DVI adapter, you can effectively connect your PS4 to a projector with a DVI port, expanding your gaming experience beyond the confines of a standard TV screen. Embrace the more prominent visuals and immerse yourself in gaming with your PS4 and the projector.
Part 4. How to Connect PS4 to the Soundbar and the Projector
To fully immerse yourself in the gaming world, consider connecting your PS4 to a soundbar and a projector. Follow these steps for a complete gaming setup:
1. Before connecting anything, ensure that your PS4, projector, and soundbar are all powered off.
2. Connect one end of an HDMI cable to the HDMI port on your PS4.
3. Connect the other end of the HDMI cable to the HDMI input on the soundbar.
4. Take another HDMI cable and connect one end to the HDMI output on the soundbar.
5. Connect the other end of the second HDMI cable to the HDMI input on the projector.
6. Select the correct input source on your projector corresponding to the HDMI connection. This might be labeled as "HDMI" on the input menu.
7. Your PS4 video will now be projected on the screen while the sound is routed through the soundbar, delivering a captivating and immersive gaming experience.
Elevate Your Moments with XGIMI Projector.
Transform any space into a captivating cinema with XGIMI portable projectors. Immerse in stunning visuals and dynamic entertainment anywhere. Order now for unrivaled portable projection brilliance!
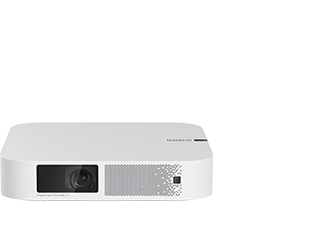
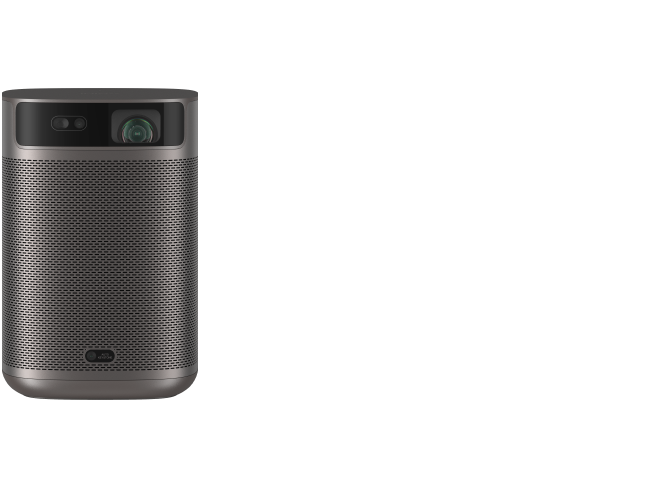
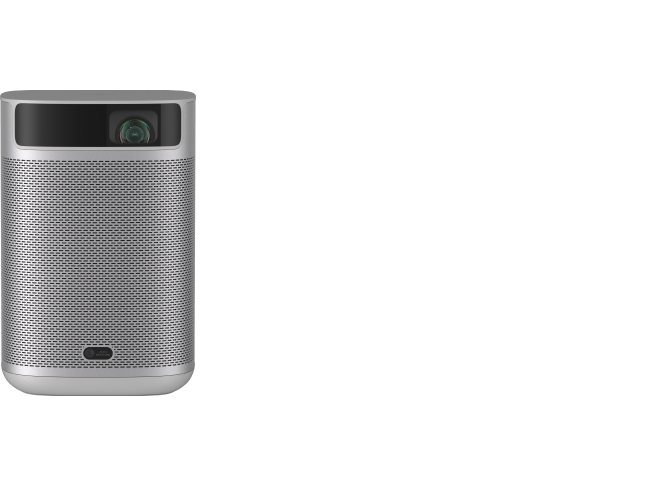
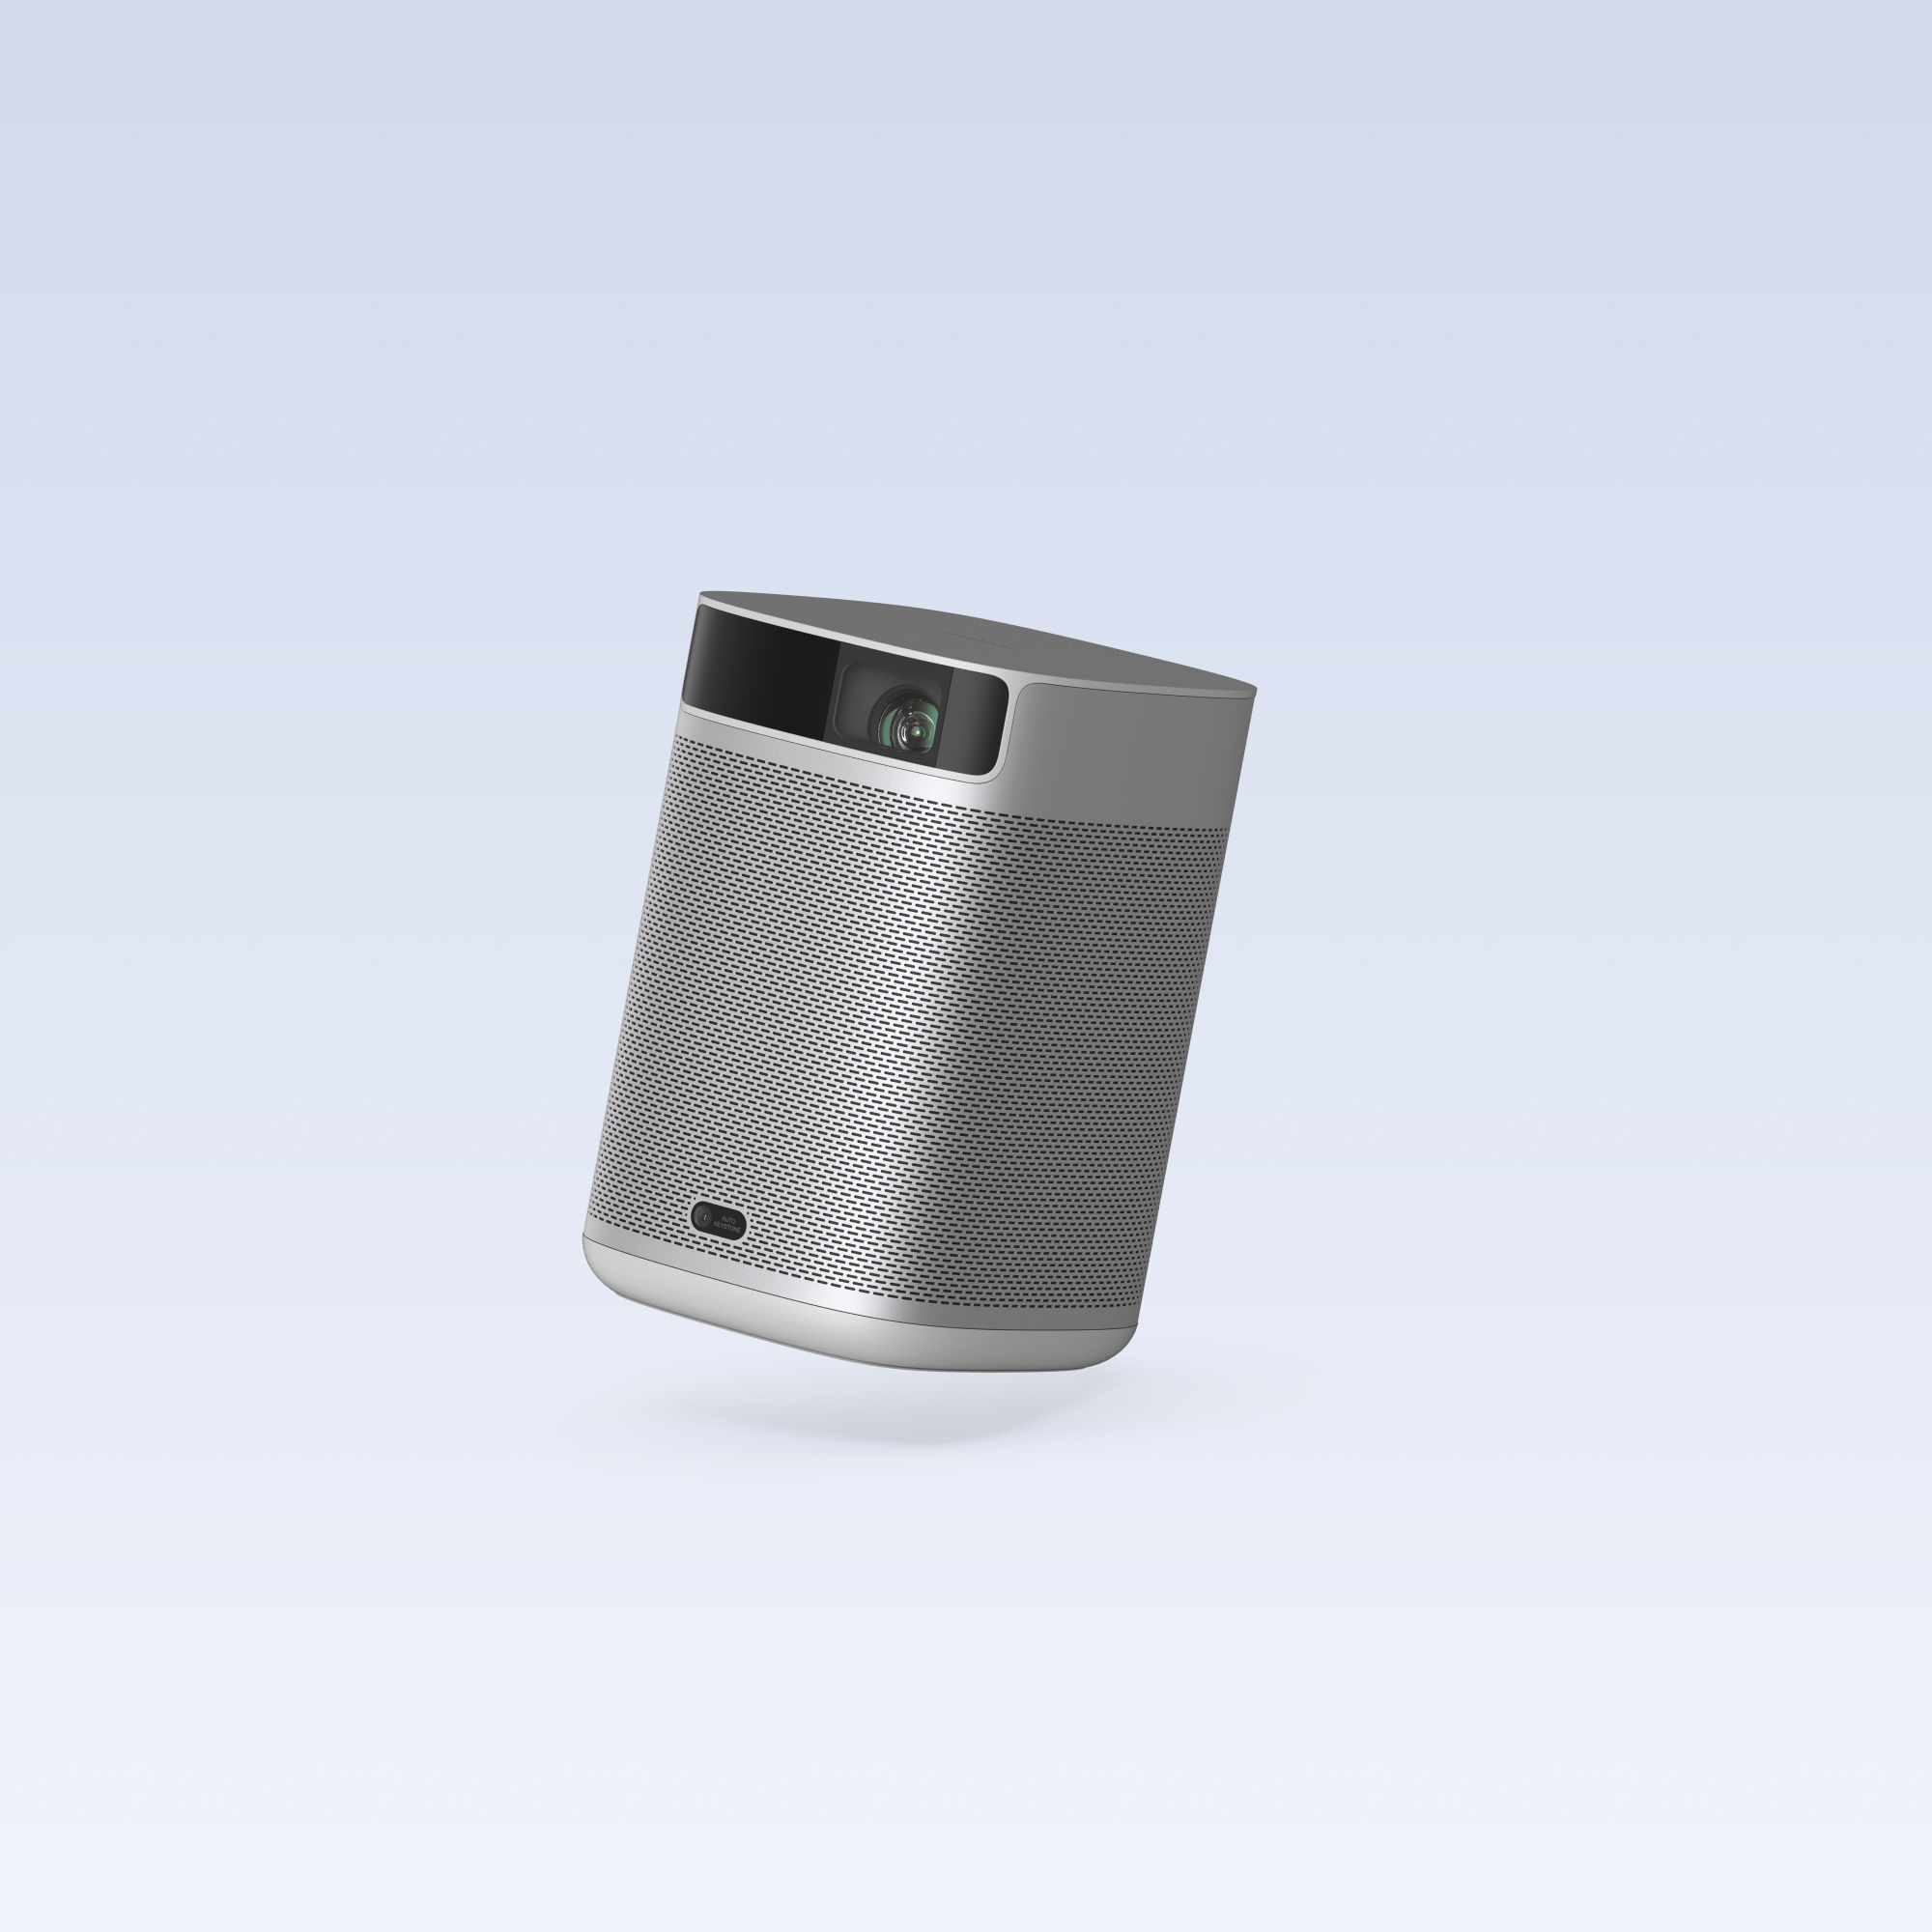
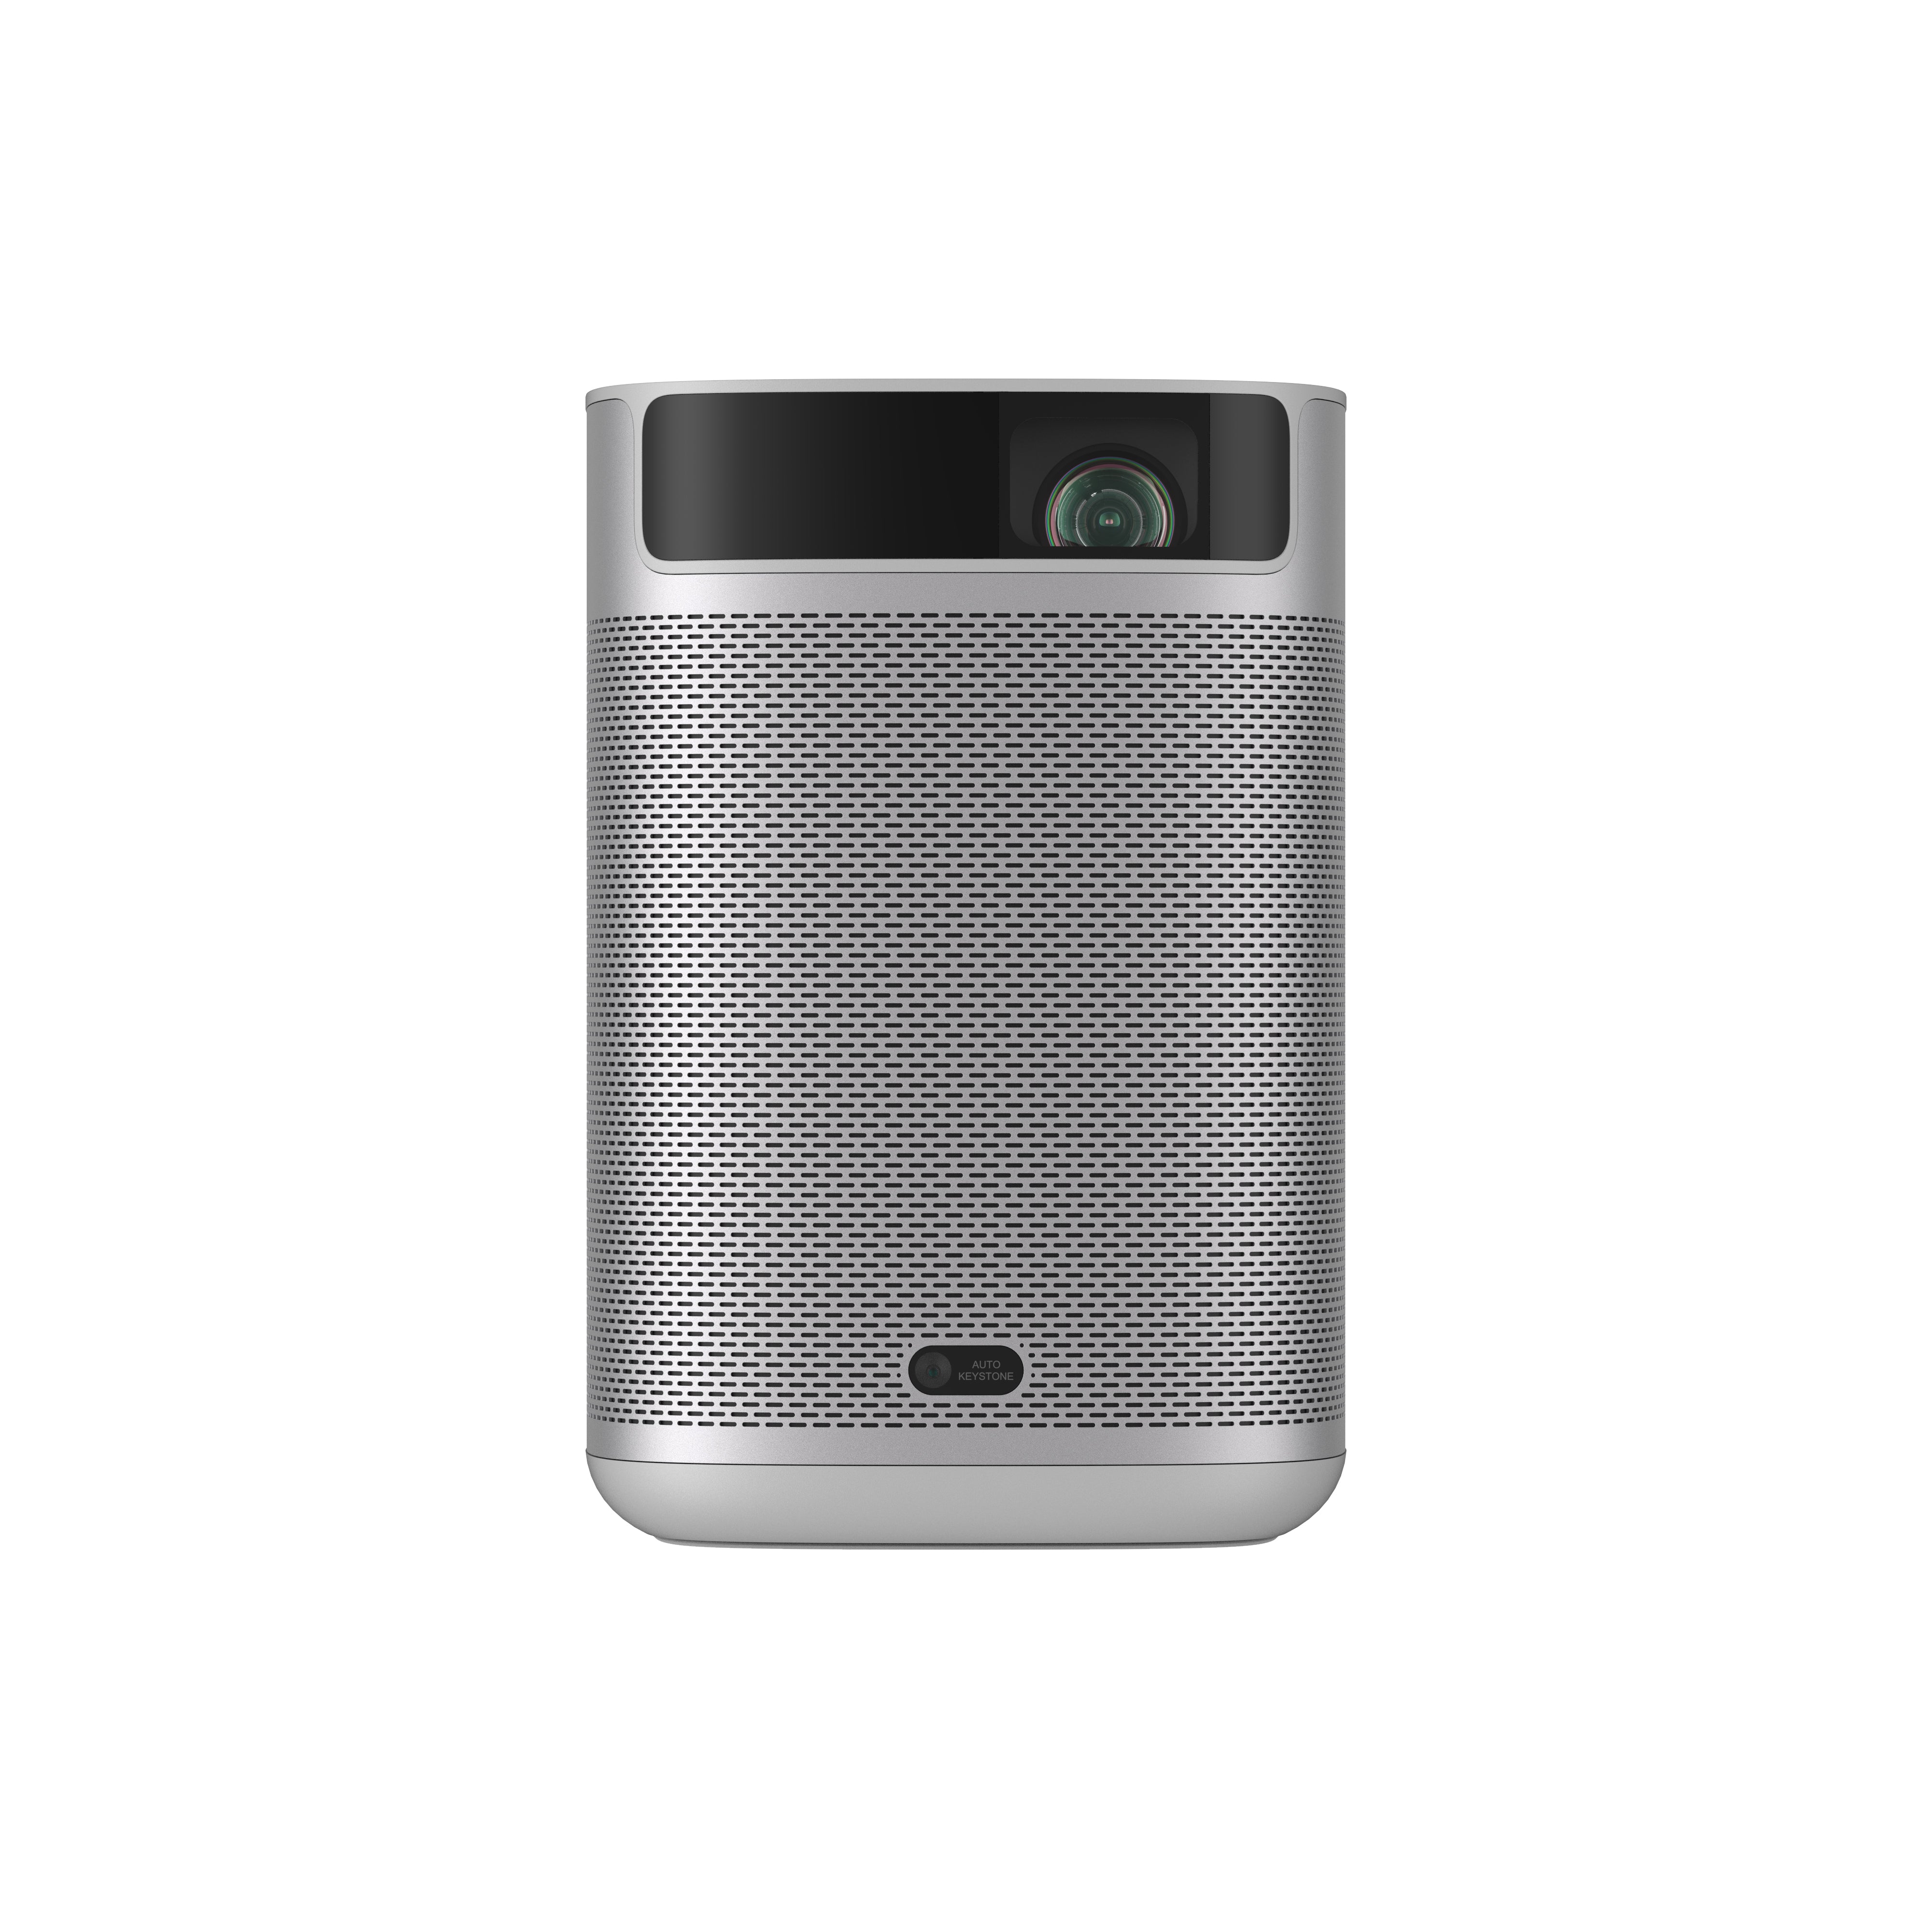
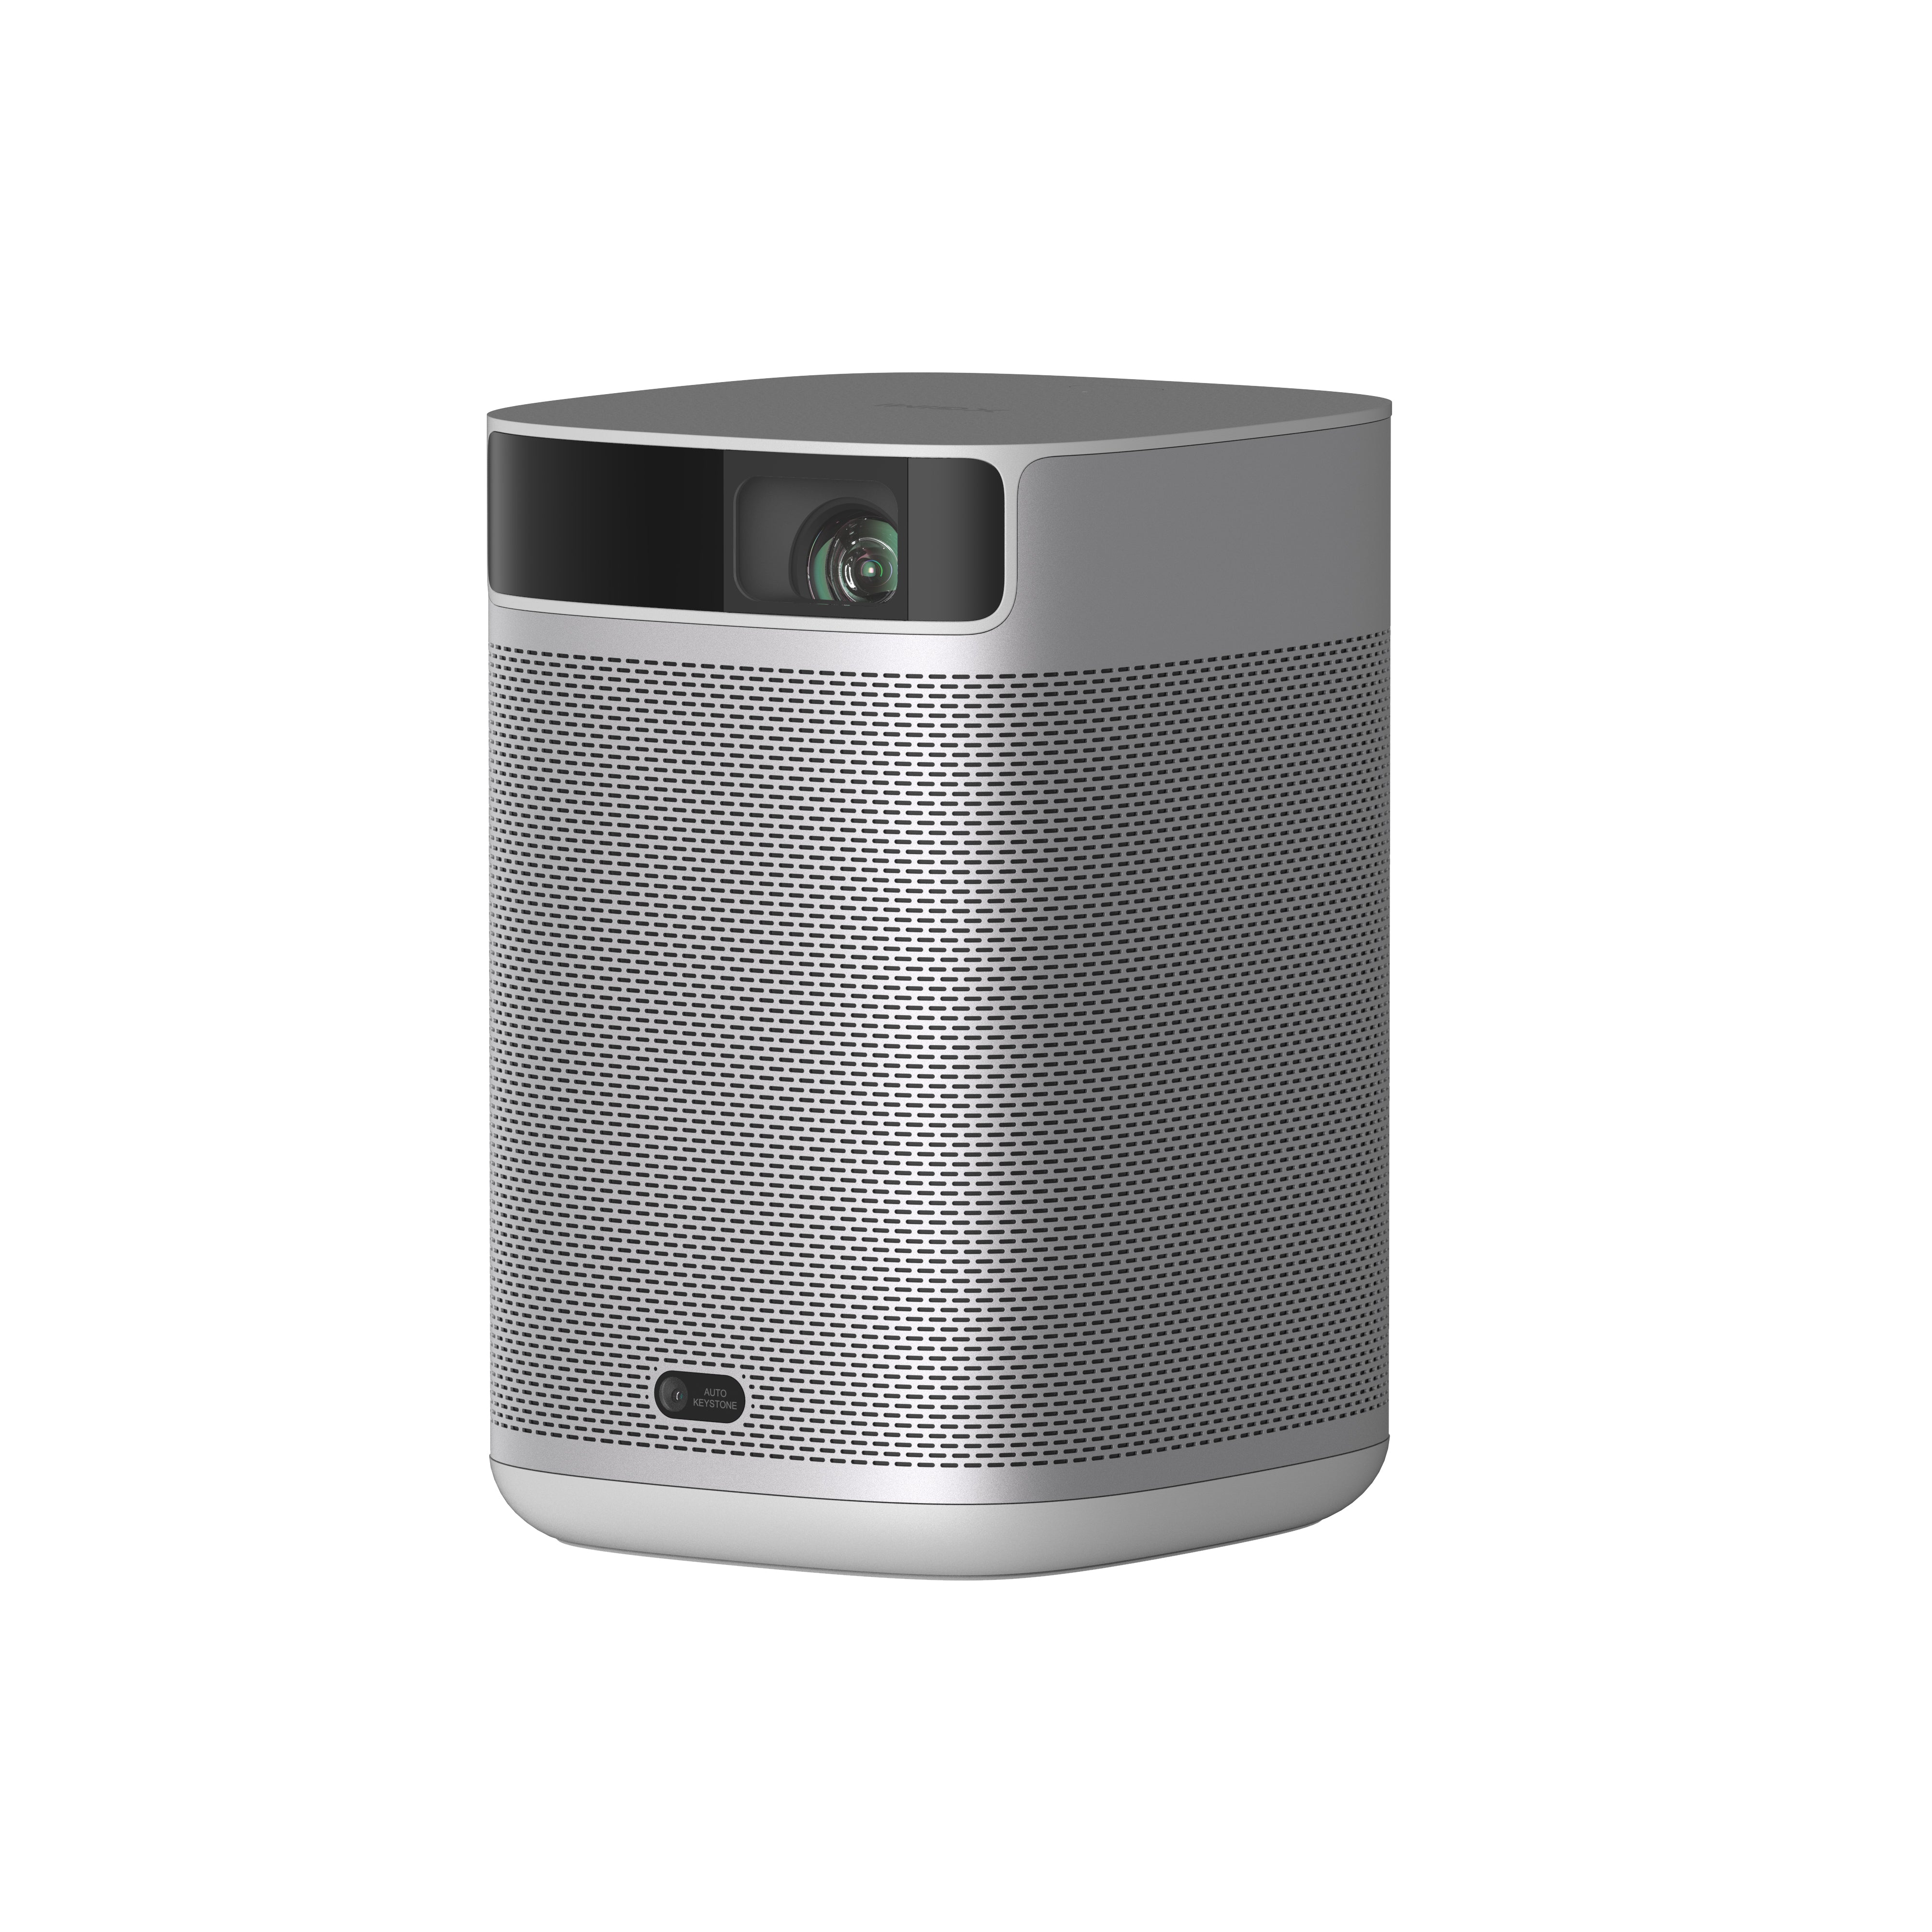
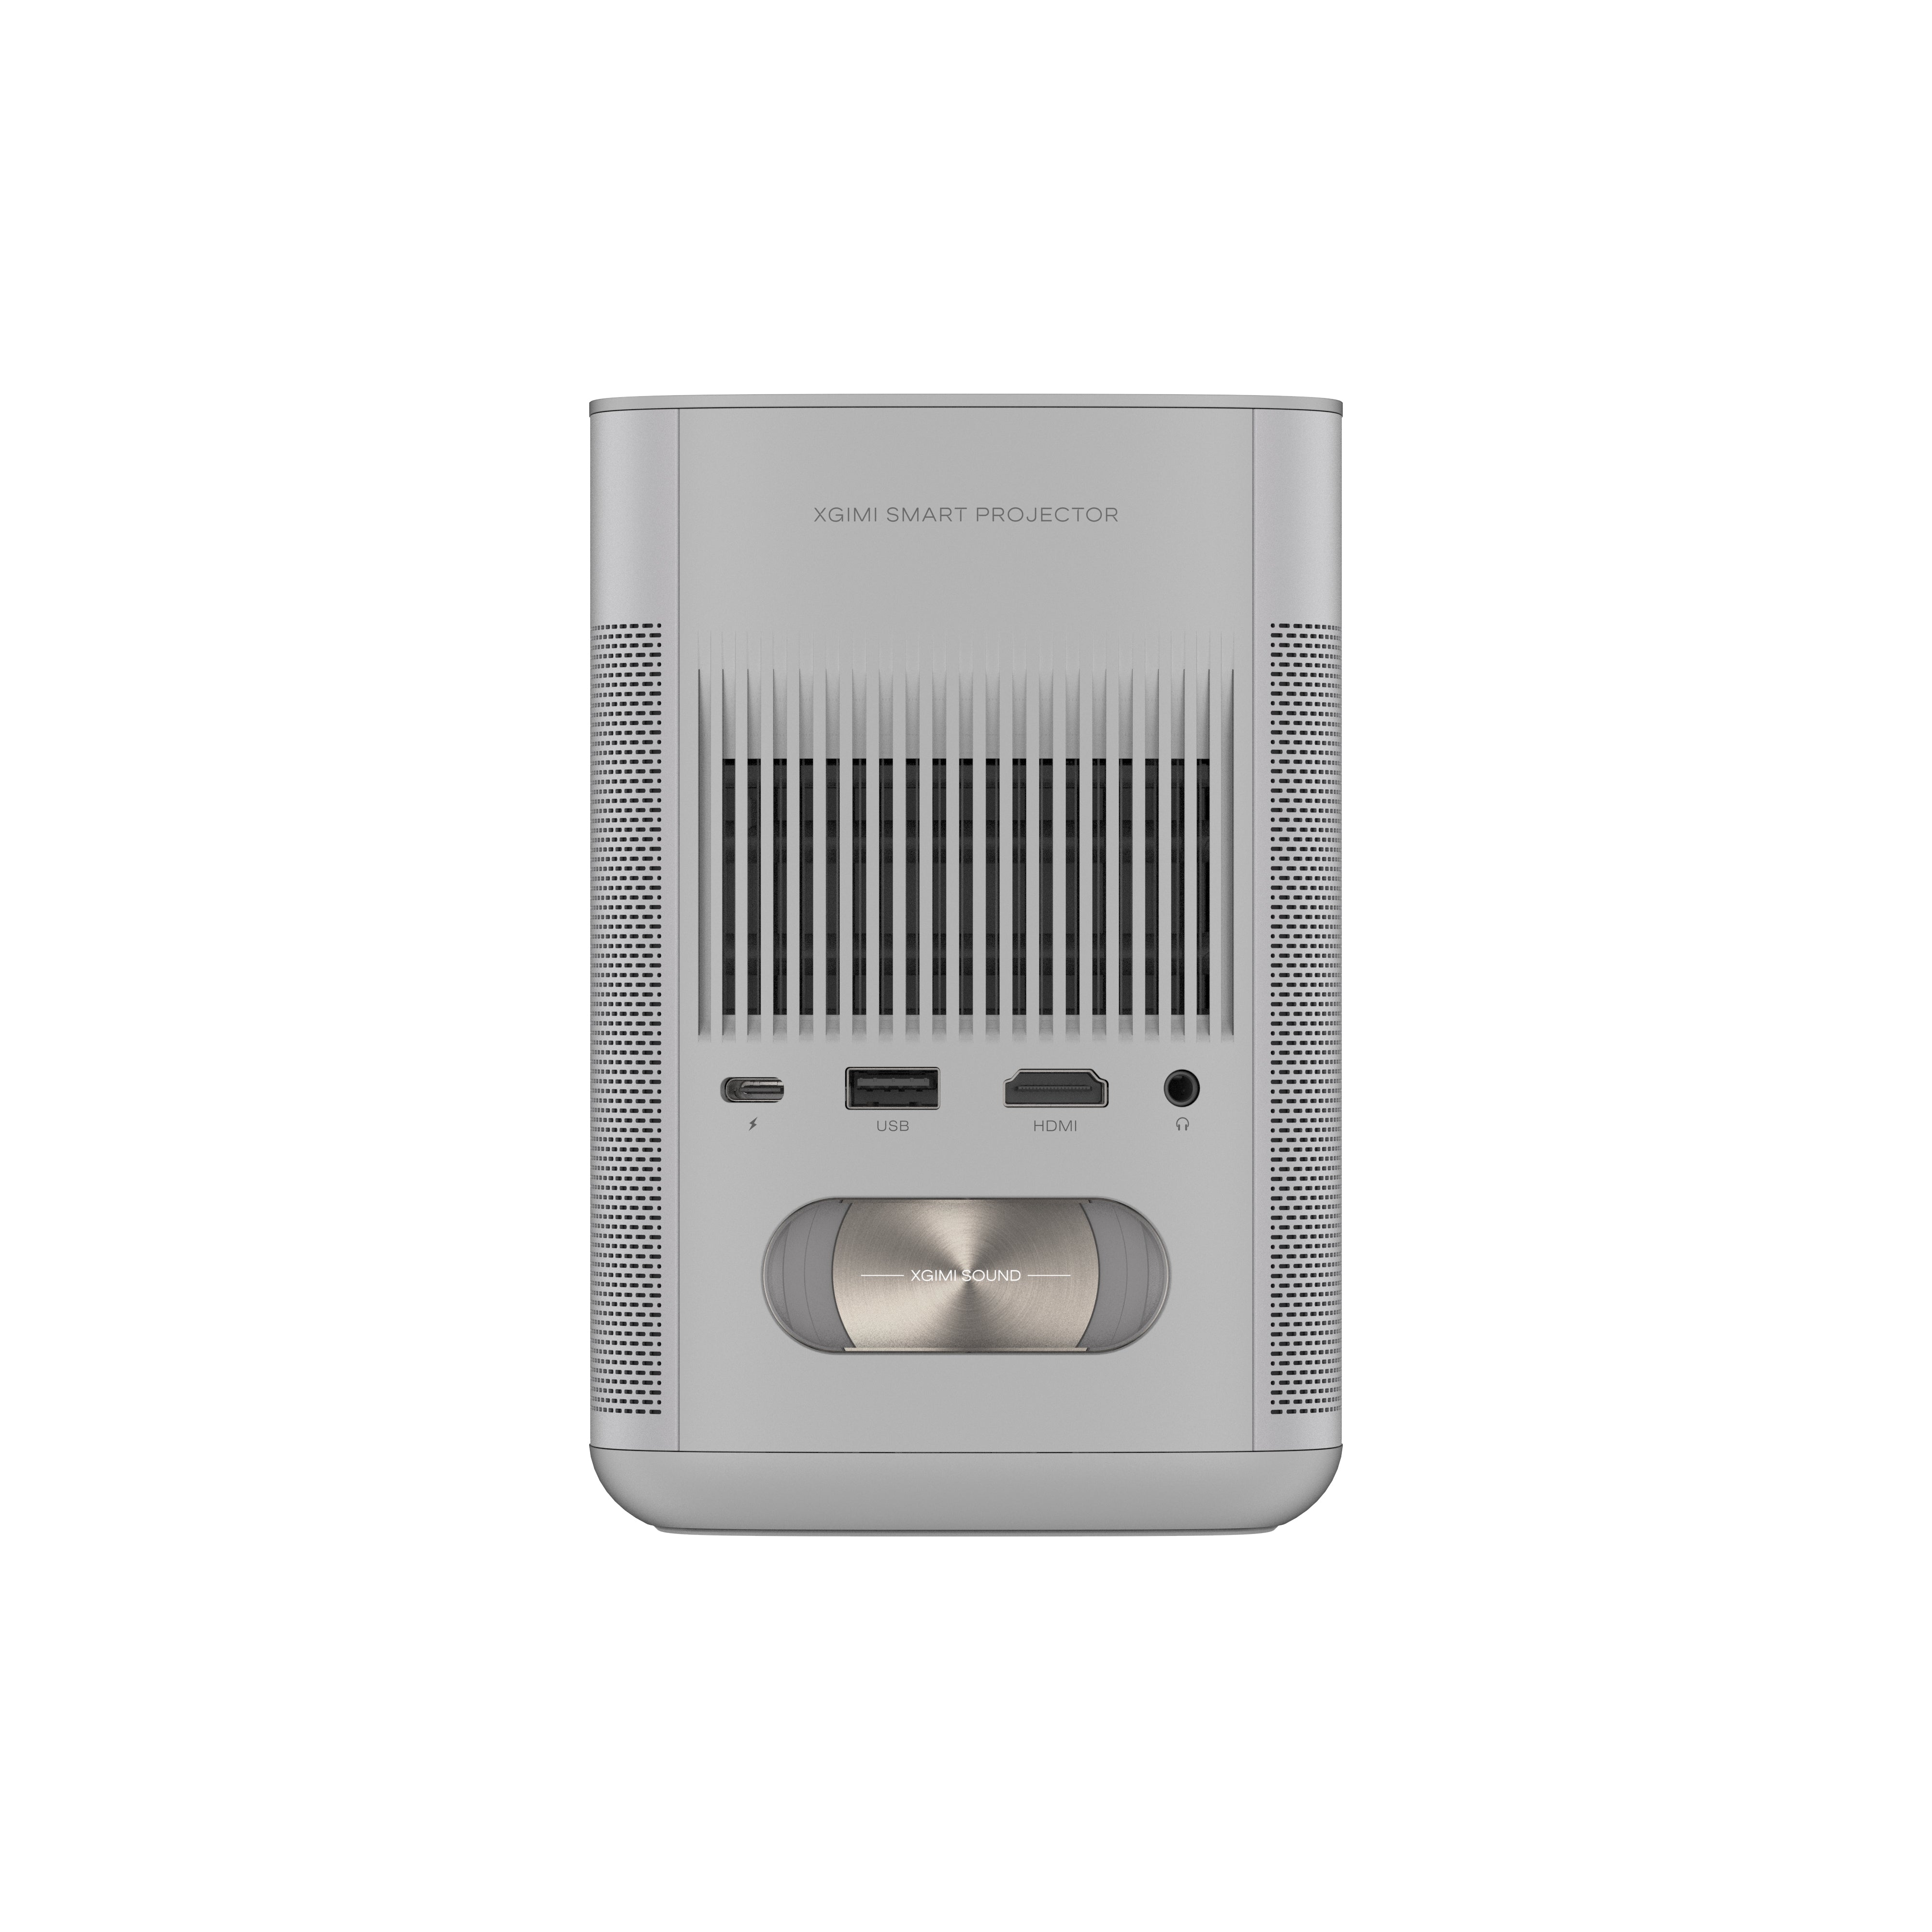
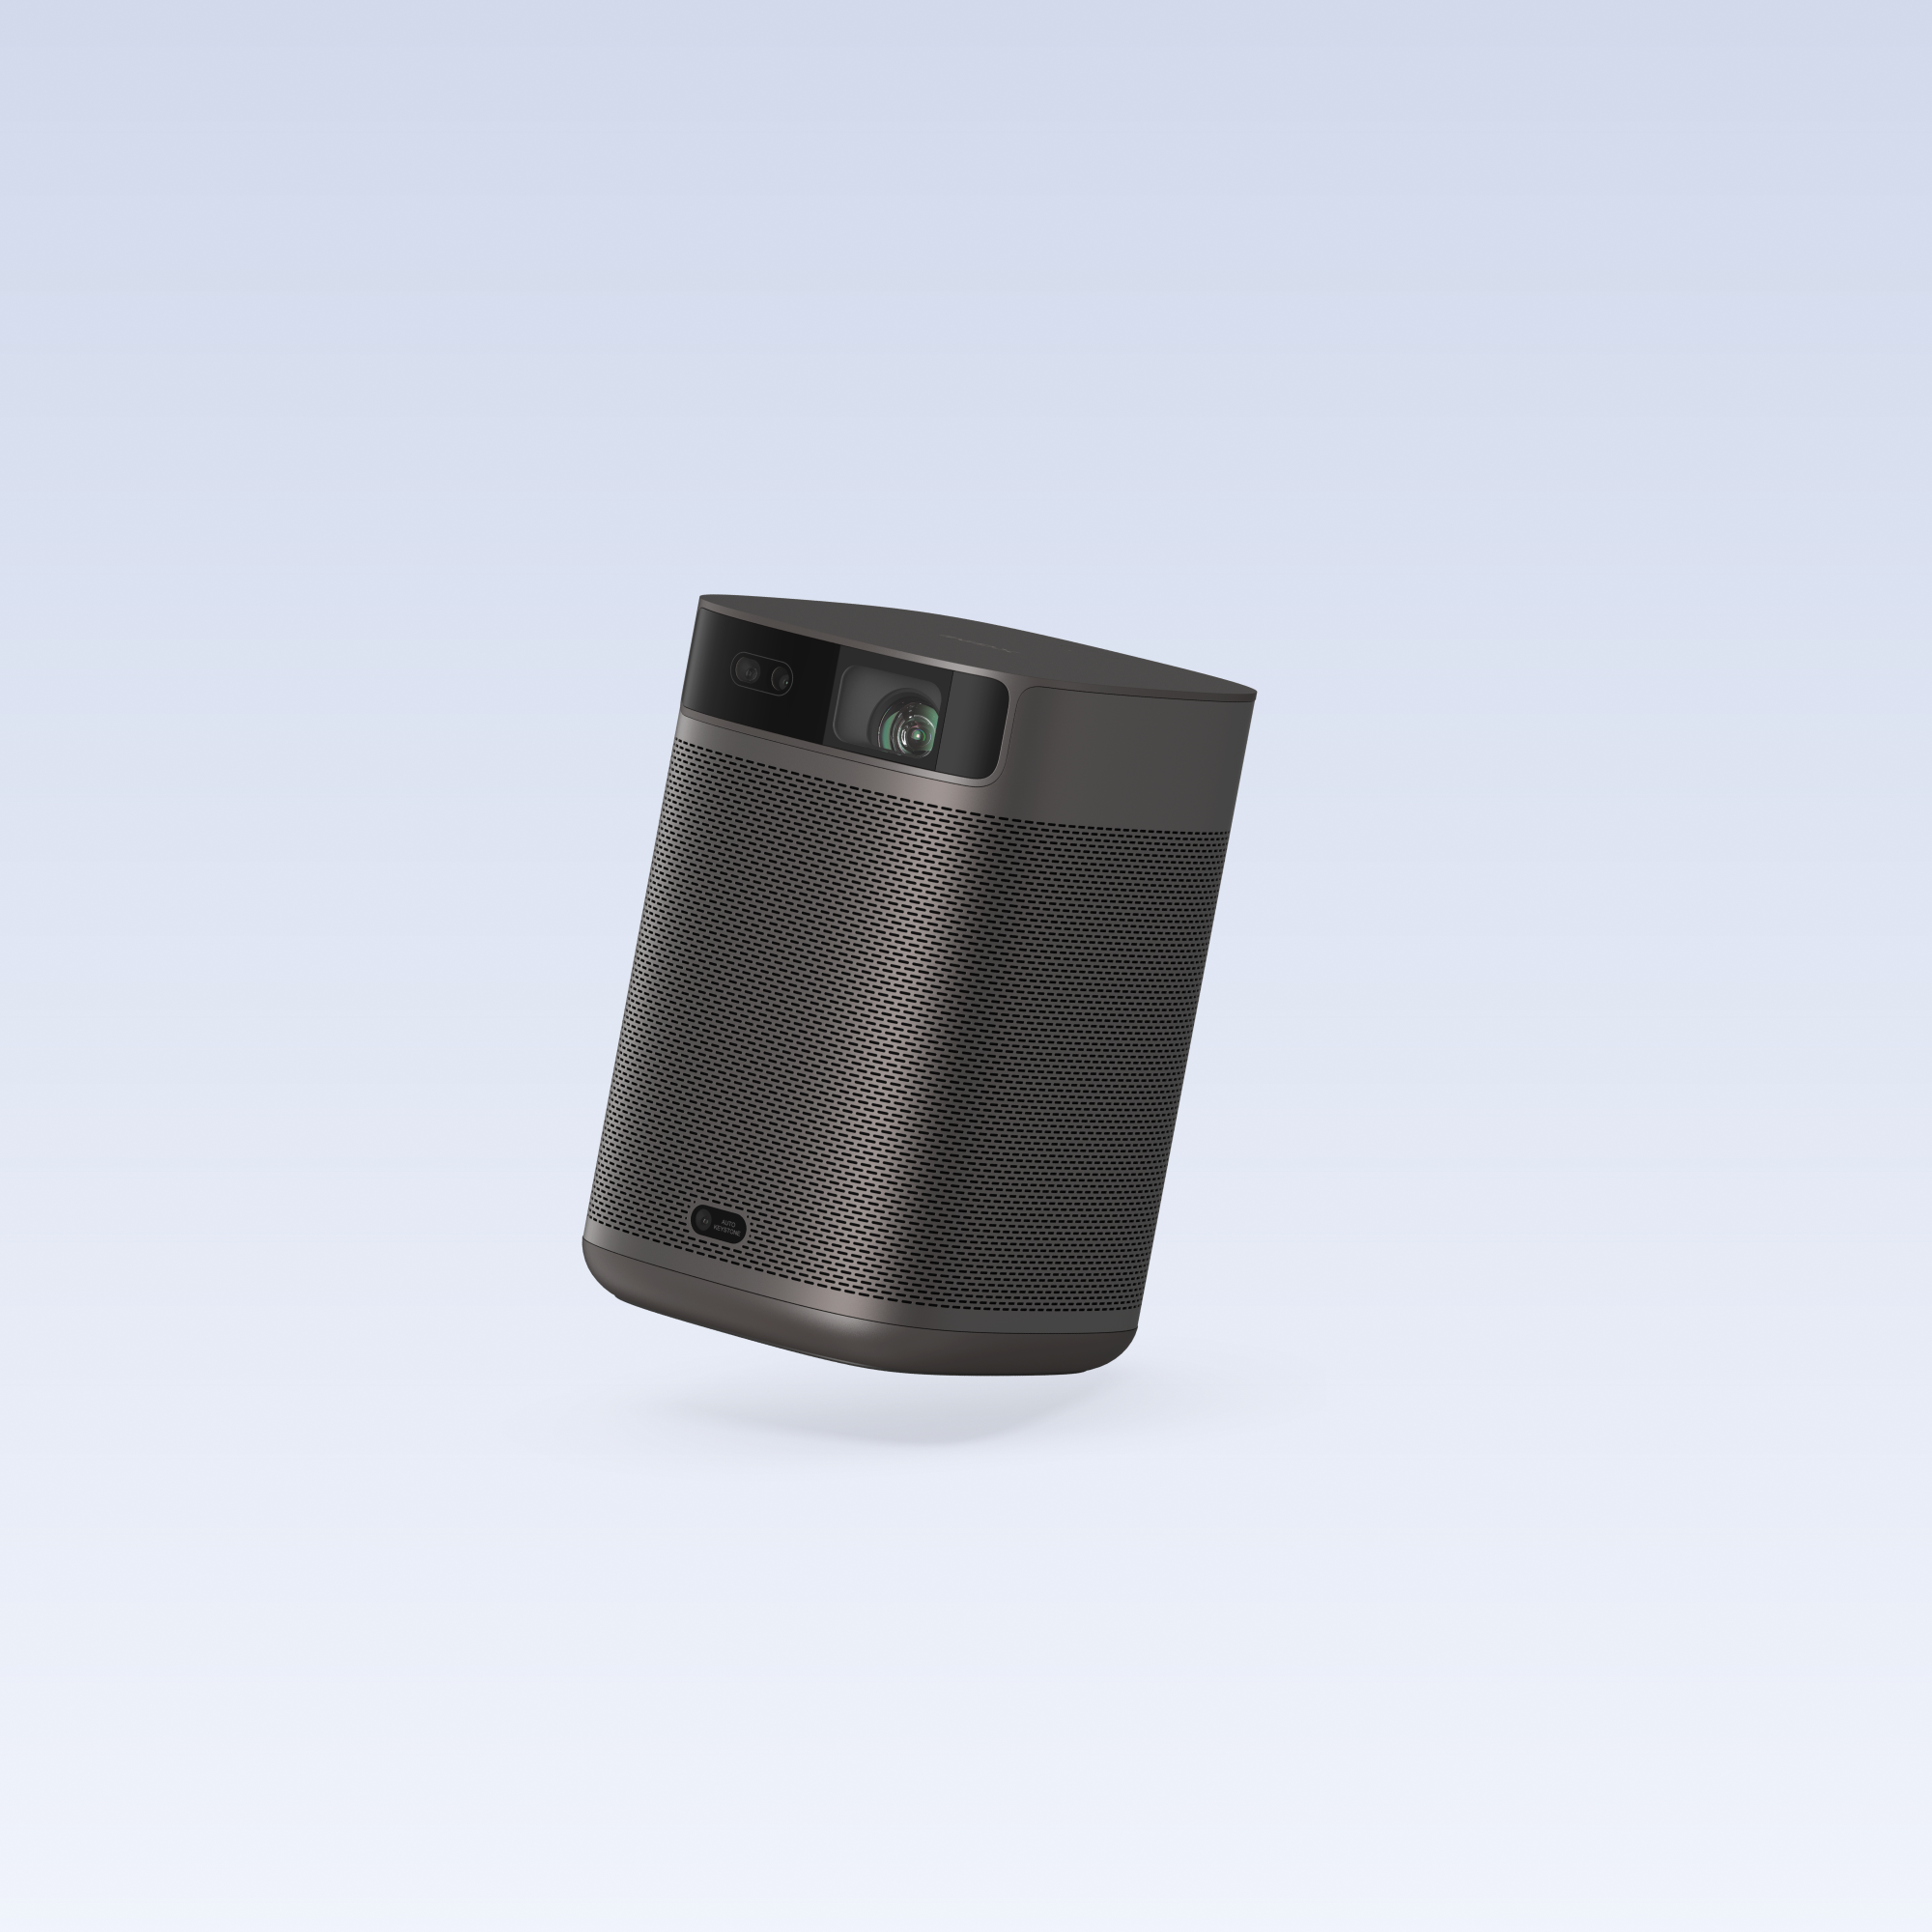
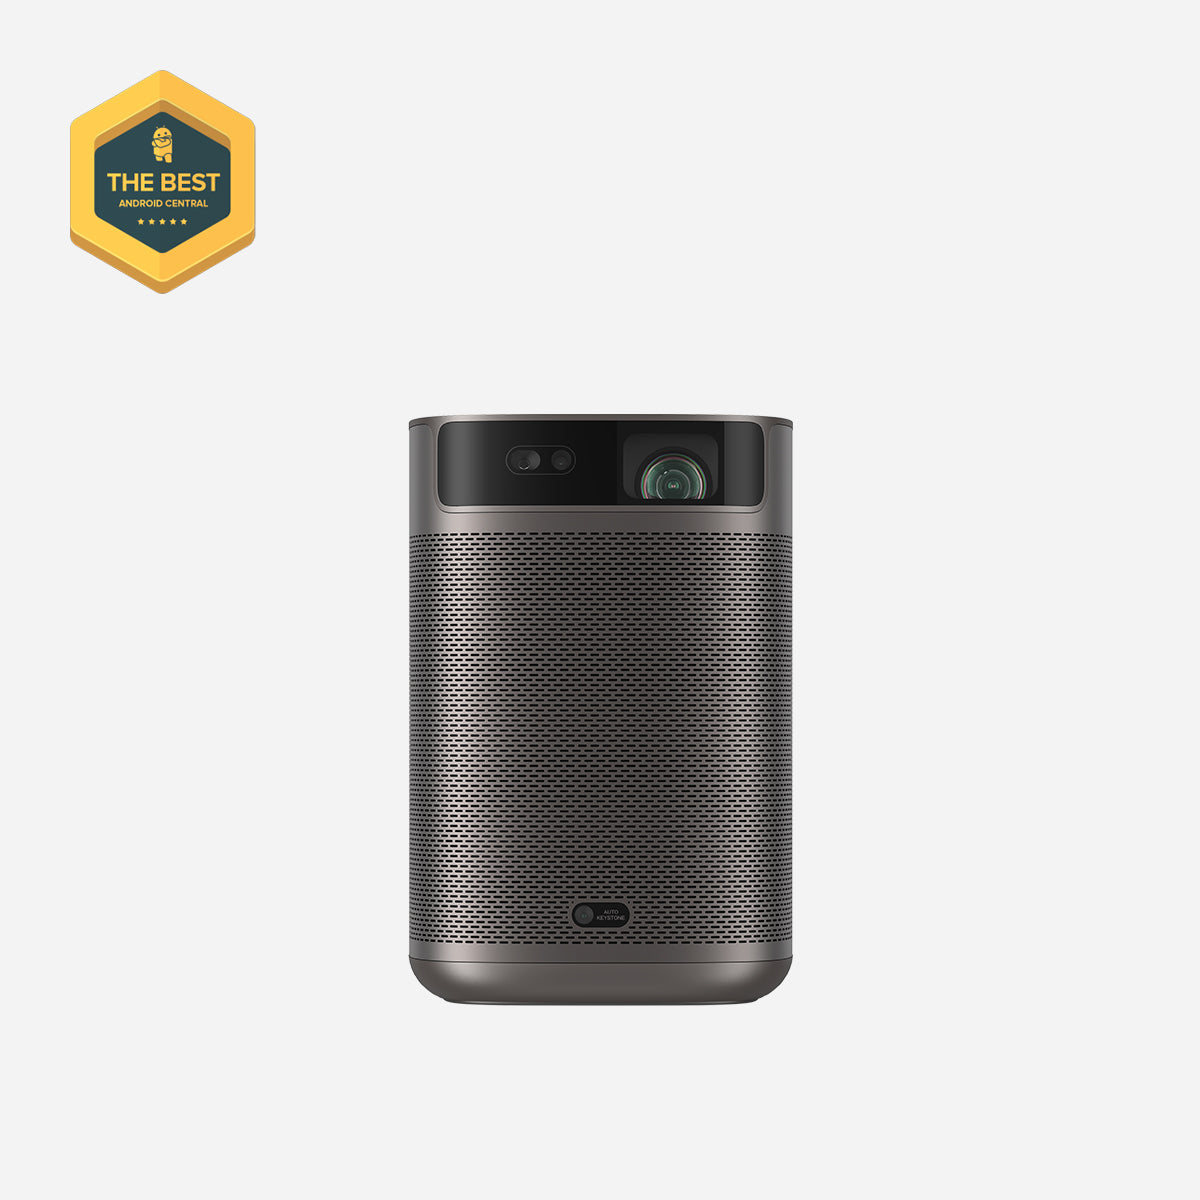
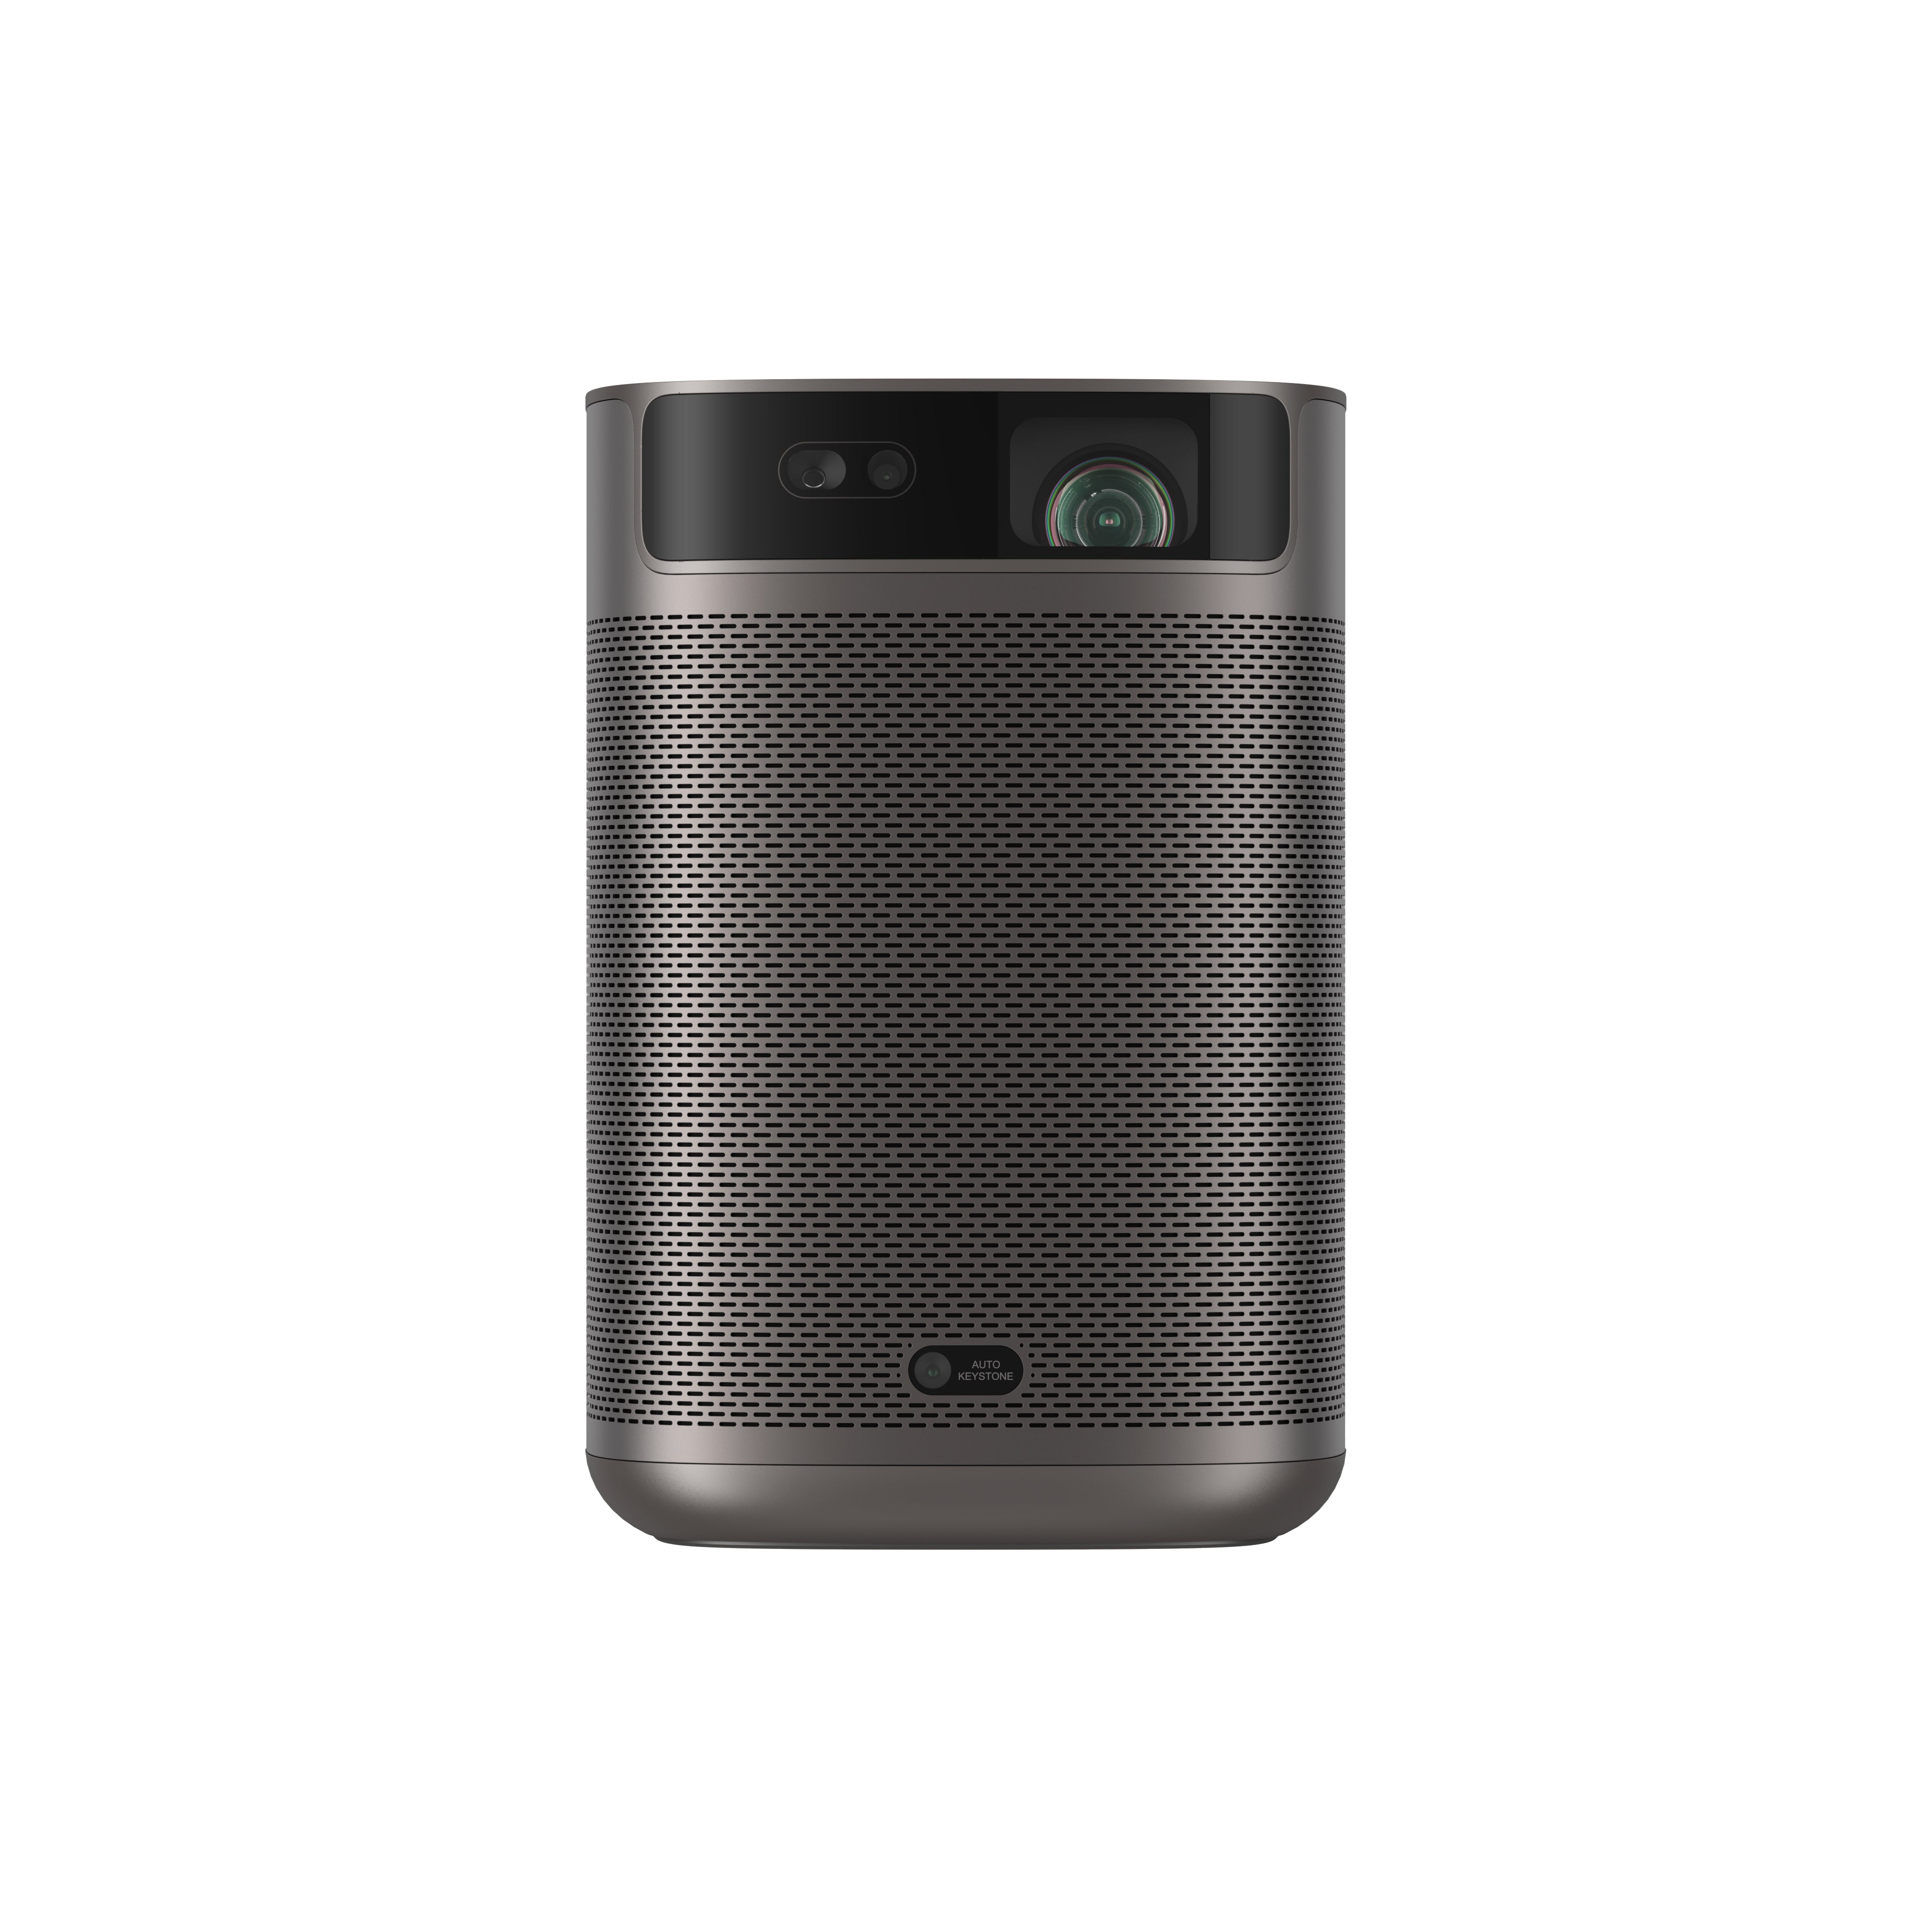
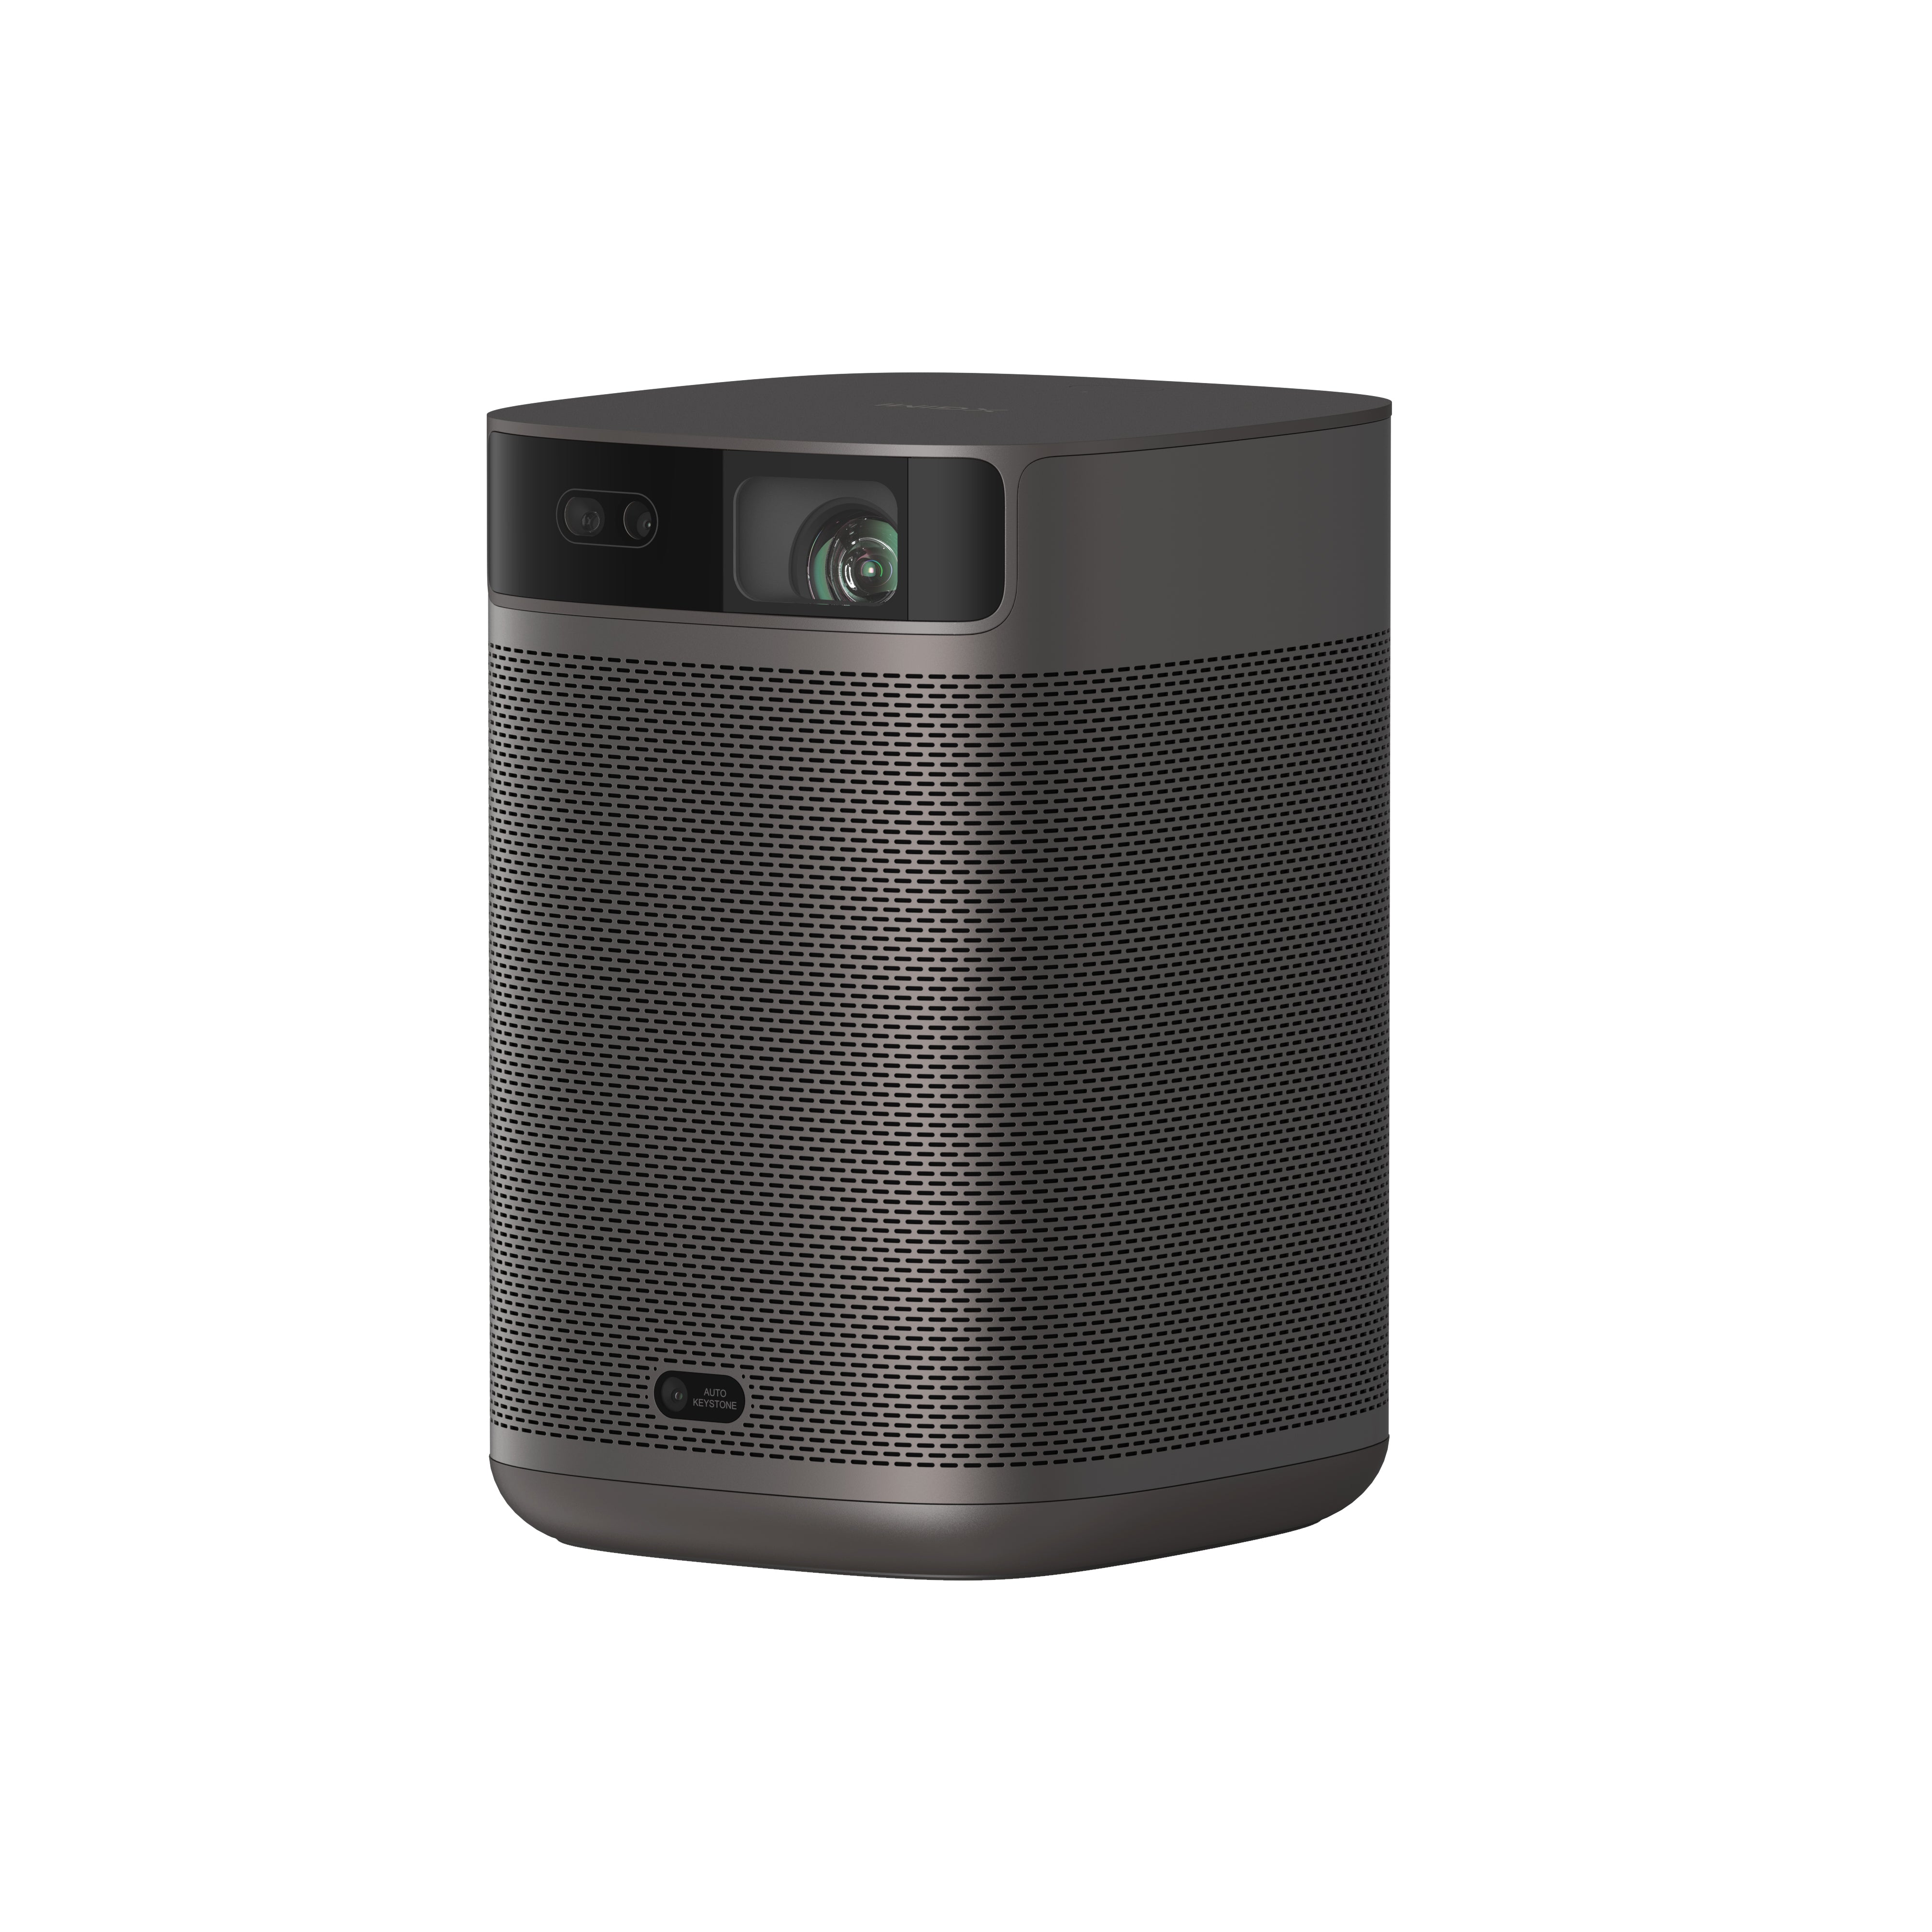
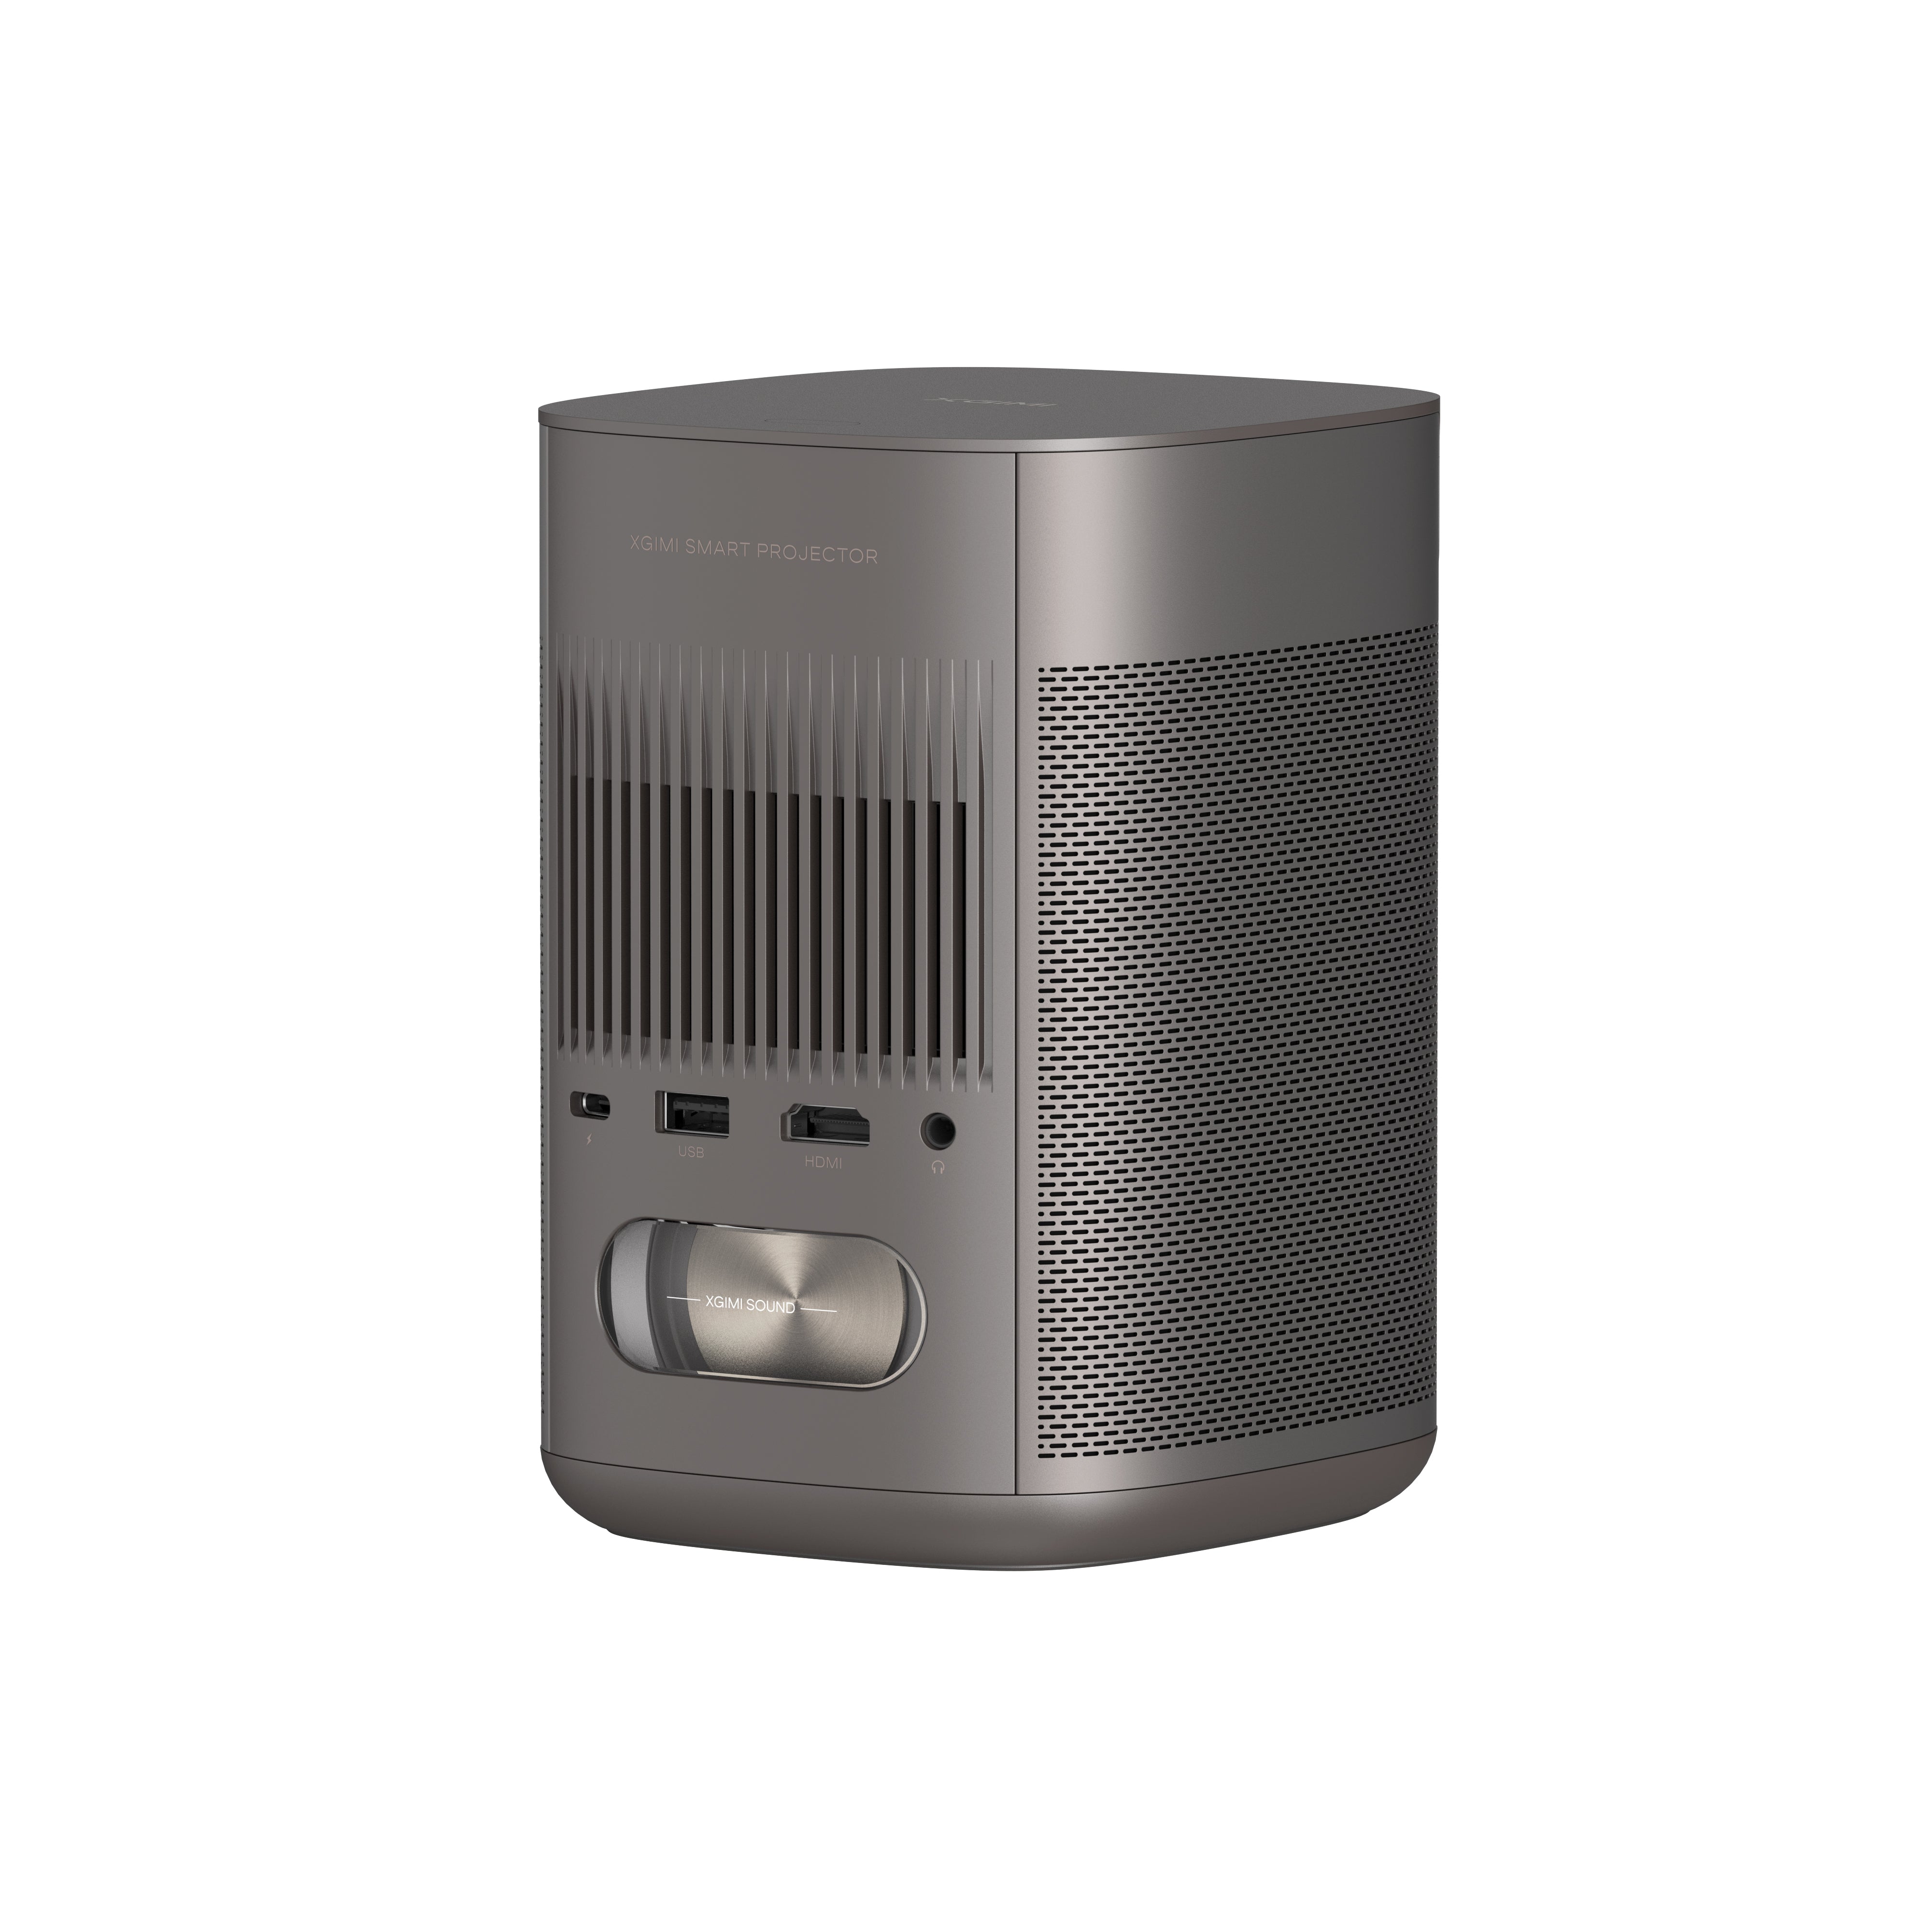
XGIMI MoGo 2
- Cinematic Visuals for Only $399: MoGo 2's 400 ISO lumens, integrated D65 color temperature standard, and 90% DCI-P3 color gamut offer a cinematic big-screen experience with bright, colorful images.
- Plug and Play: Let MoGo 2 do the work for you. With our industry-leading ISA 1.0 technology, enjoy the easiest projector setup experience.
- Movies on the Go: MoGo 2 connects to your power bank and is easy to move to different rooms or during your outdoor adventures.
- 8W Speakers with Dolby Audio: MoGo 2's built-in dual 8W speakers with Dolby Audio provide impressive sound, helping you immerse in your favorite movies, music, and more!
- Android TV 11.0, Thrilling 3D Movies at Home: MoGo 2 decodes 4K video smoothly and supports 3D content. With the upgraded Android TV 11.0, you get the ultimate user-friendly experience.
XGIMI MoGo 2 Pro
- Hollywood-Standard Visuals: With 400 ISO lumens, integrated D65 color temperature standard adopted by Hollywood, and a 90% DCI-P3 color gamut, all colors are restored in brilliant, lifelike detail.
- Seamless Setup, Smart Projecting in a Snap: Our new ISA 2.0 technology ensures you never miss a moment of your favorite movies, TV shows, or games.
- 8W Speakers with Dolby Audio: MoGo 2 Pro offers a deeply immersive and cinematic audio experience thanks to its built-in dual 8W speakers with Dolby Audio.
- Smooth Android TV 11.0 and 3D Movies at Home: Decodes 4K video seamlessly and supports 3D content. Moreover, the upgraded Android TV 11.0 provides the ultimate user-friendly viewing experience.
- Movies on the Go: Easily connect MoGo 2 Pro to your power bank, allowing you to move it to different rooms or take it on your next outdoor adventure.
Conclusion
Now that you're well-versed in connecting your PS4 to a projector, you can immerse yourself in the captivating world of gaming on a bigger screen. The process is simple, and with the detailed instructions provided for HDMI, VGA, and DVI connections, you can quickly adapt to the available ports on your projector. By incorporating a soundbar into your setup, you'll further elevate your gaming experience with high-quality audio. So, whether you're battling foes, exploring fantastical worlds, or embarking on epic quests, the combination of a PS4 and a projector will undoubtedly take your gaming escapades to new heights! Happy gaming!
Related Products
Enjoy $10 off Your Next Purchase
Join the XGIMI Community Today!

